Its been just over two years now since I walked into my first
Midnight Shuttles Guild meeting on a "dark and stormy" November night. Being completely new to town, I had no idea where I was going; the wind was howling and the rain was coming in sideways and I was trying to find a little blue house down by the seashore. Its called Sybil's cottage as that is where famous artist
Sybil Andrews had lived. I blew in a few minutes late and have felt at home there ever since. A warm and caring group of people...
I have shown them some of my weaving as show and tell at meetings and one member asked if it was possible for me to do a small program on finishing details and techniques. Reasonable enough request but it would mean having a variety of finished samples on hand, and some in mid progress to show them. Since I do all my work on floor looms, and finish things to completion (no WIP's), how could I demonstrate this in as a small program? My work is done on finished items and then usually sold and gone. I have posted blog posts here that show different techniques I've used but that's meant for the solitary browser, who at best, may share the link with a friend or two.
Then I got the idea of setting something up on a table loom to demonstrate and show them..... then it evolved into a group project where the loom is passed around. So the birth of the guest towel project was hatched. 🐣
I got ahold of the guild's 8 shaft Dorothy table loom and found it needed a good cleaning and tune up. I cleaned it with Murphy's oil soap and some diligent scrubbing and took some corrosion off the metal bits. All the lashing cords came off and were washed and rethreaded back on.
I noticed it had some bits missing and some rather elderly and sparse wires heddles. Not enough for my project ( and there were no heddles at all on shafts five to eight!). I was given approval to purchase some new inserted eye heddles from Leclerc and one member's husband kindly made some beautiful oak lease sticks. The old girl was looking rather grand now!
I had planned a four shaft Swedish lace project, found in The Handweaver's Pattern Directory by Anne Dixon (page 191), to do a small hand towel each, using 10/2 cottons, and featuring hemstitching details. So I wound a six yard warp, sett 24 epi and Hubby helped me beam it.
Here's the loom being threaded. Its a bit of a reach to even the front four shafts! (There are holes predrilled in the sides so I suspect this could be added to to make it a twelve shaft. It would explain the reach.)
The new heddles just slip along nicely.....and being Swedish lace, its a heavier count for heddles on shafts one and two.
As you can see here in this close up below, the inserted eye is nicely open and smooth for any yarn type with out fear of snags or pinching. Being stainless steel, there's no corrosion to deal with either.
The new oak lease sticks are doing a fine job!
Finally, I trussed up the beater bar assembly to stand upright and sleyed the 12 dent reed.
Ready to lace on. I'm being economical with the warp as there are 11-12 participants. I might even need to do a second warp if some want to weave more than one.
I had used my Fiberworks program to work out the project width and number of lace repeats. At 12.88 inches in the reed, its using a great deal of the loom's width. I had planned a rough outline of how the towel will be proportioned, but only weaving one up will tell you the final result. Below are two pictures showing hem allowance of six inches done and the motif border is complete and hemstitching is under way.
 |
| I found this diagram on line which shows the steps nicely too. |
Then I changed from the cream 10/2 cotton (same as the warp) and used a slightly deeper beige called Shell and wove the main part of the towel doing eleven repeats of blocks A and B and ended with a final A to balance.
Block A: (do 3 times)
1, 3
2
1, 3
2
1, 3
2, 4
Block B: (do once)
1
2, 4
1
2, 4
1
2, 4
1, 3
This progressed along nicely and with a final block A and 8-9 pics of plain weave, it measured roughly 13- 13 1/2 inches and I switched to the cream 10/2 and wove an inch of plain weave. Then using my colour change as my 'bottom line', I did a row of
Italian hemstitching (or box hemstitching as I have also heard it called). The entire box is in the cream section. You can also find diagrams showing this in
Finishing Touches for the Handweaver by Virginia West (page 24) . This book should be in every weaver's library.
 |
| step one: choose the size of the box, here its 3 x 3 threads. |
 |
| Step 2: bottom right hand corner to to left hand corner and make the 'floor of the house' |
 |
| Step 3: Go from top right corner to bottom left corner to make the 'roof of the house' |
 |
Step 4: Go from top right corner to three threads left into new territory, and make the 'wall of the house'
...and repeat. 😊 |
I resumed weaving the five inch hem on the towel, and also added some fine scrap yarn to hold my edges and cut out off the loom! Why five inches and not six as the front was done? I like the look of a slightly smaller back hem and it places all the emphasis on the front where you did all that pretty stitching! The Italian hemstitching on the back hem gives it a neat treatment and emphasizes the colour change. I machine straight stitched the edge of the cream hems to secure them and washed by hand. While still damp, I gave it a good steam pressing with my Singer press.
The hems were folded into thirds, pressed and then
hand sewn as shown here. Voila! the towel is complete.
Now: what would I do differently? The over all length of the towel is just a tad bit too long for the narrow width so perhaps reduce the lace repeats to ten instead of eleven? I feel it would have a better proportion.
I also struggled with getting a good tension on the loom and so my edges are not to my usual standard.... but as I have heard said many a time, that's a Dorothy loom for you. I cranked it up as best I could but still end up laying the weft in pic by pic which meant it took a long time to weave.
Also it was difficult to get a good tap with the beater if you advanced that bit too far (spongy feel), so there really is a 'sweet spot' of only two inches with the table loom. You would advance the warp and then fight to get the tension right all over again.
I considered using a small temple to help reduce draw in but reckoned my students may not have one to hand so best to work without it. The end result of this is the lace portion draws in further than the hems. I decided this is a teachable moment to discuss drawn in. It produces a full sized towel sample of Swedish lace and its unique little windowpane look, and features hemstitching techniques and (for many) using finer threads than they normally do. Lots of new things all wrapped into one project!
.... but give me a floor loom any day!
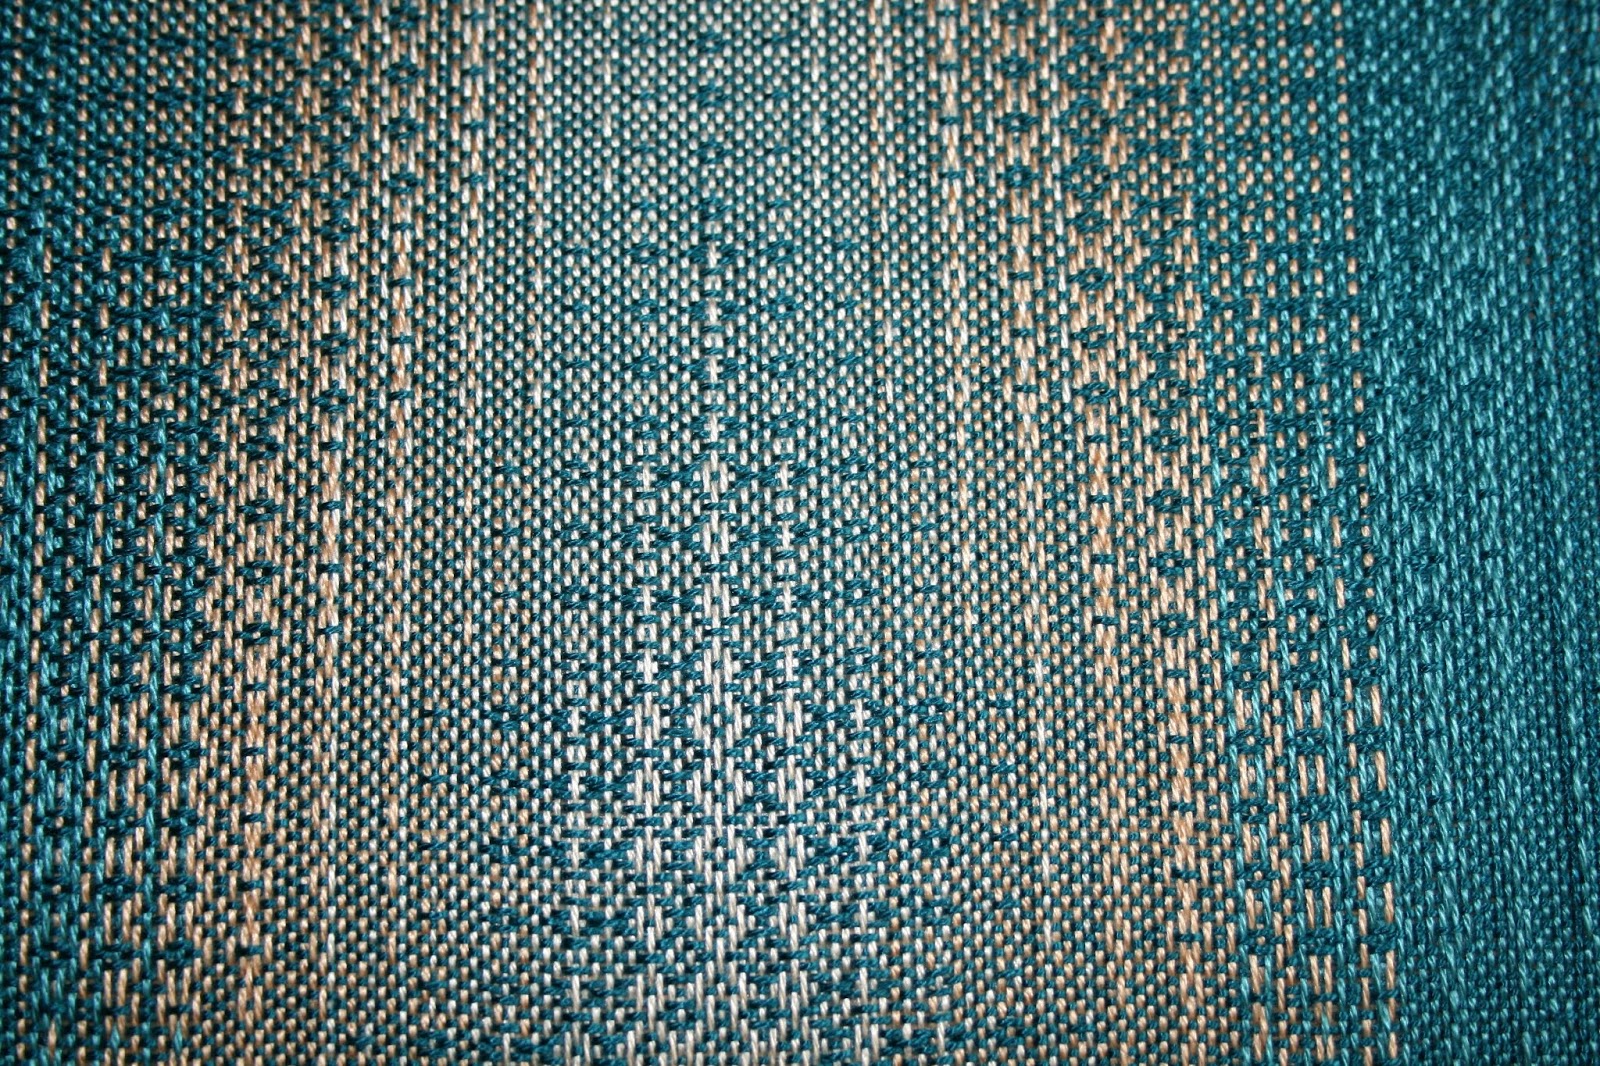
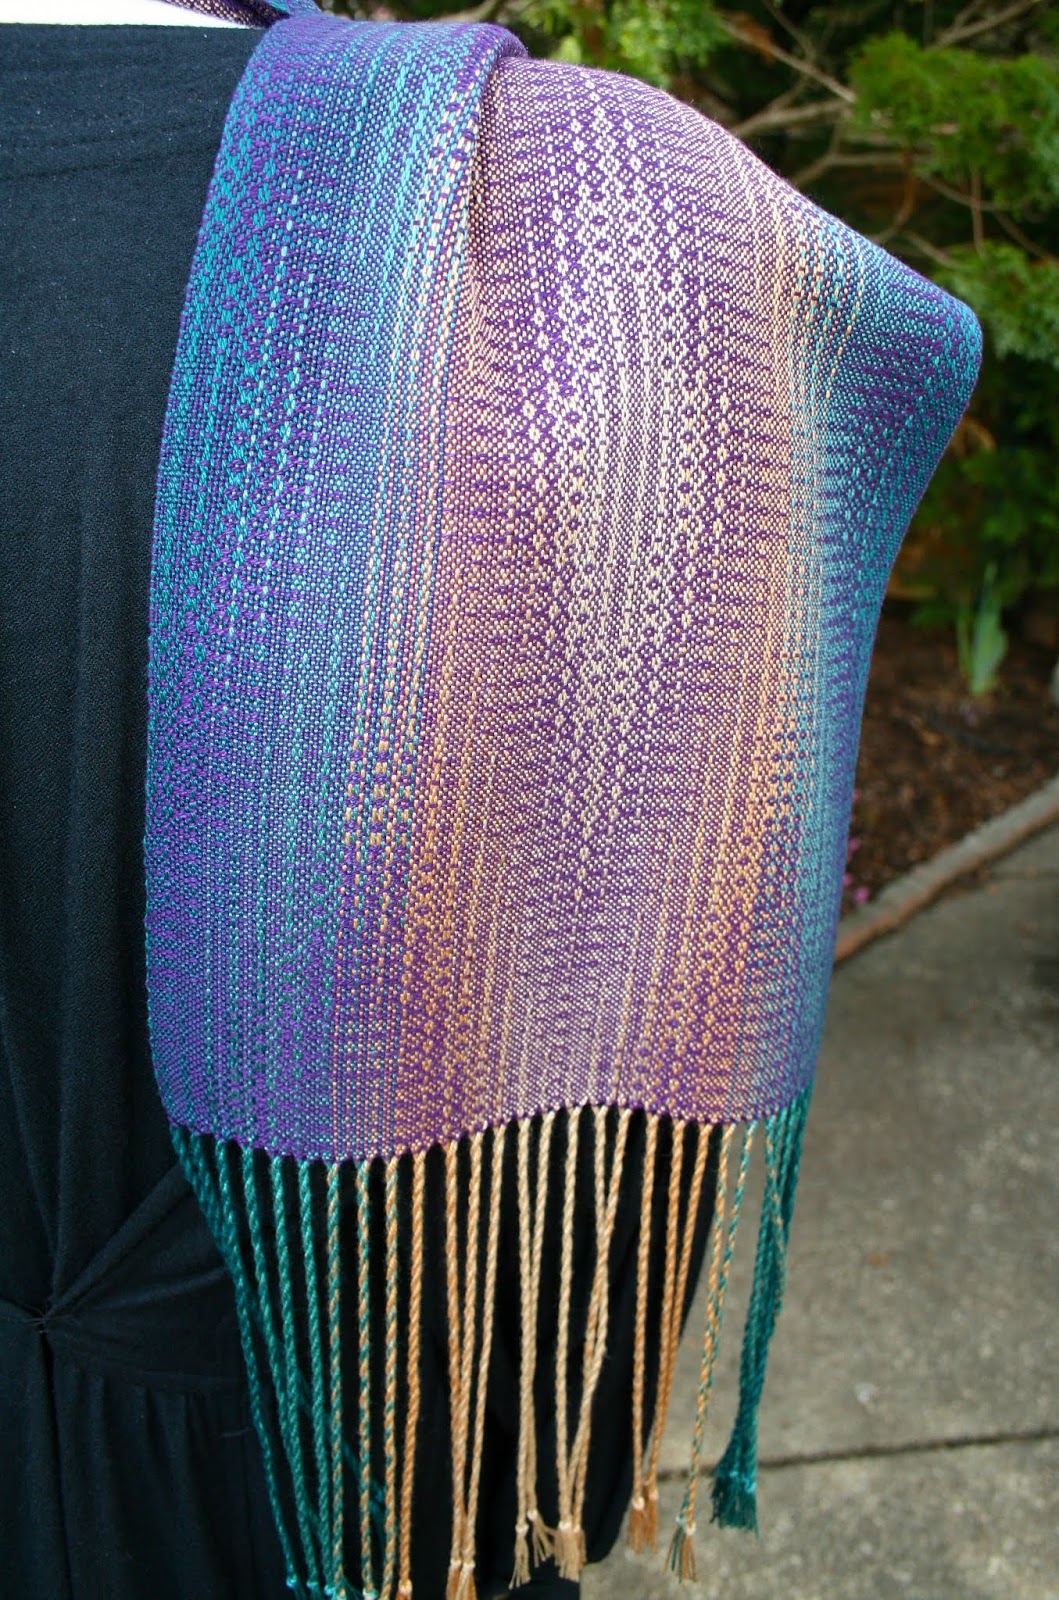
So here are some beauty shots....
My notes to travel with the loom are almost set and I will be in touch with a student shortly to take the loom. I think this loom may be circulating for awhile given everyone's schedules!