This post is also about Helping Hands, but this time for the Louet Megado loom, and again, the post will be in two, possibly three parts. 1.) the Helping Hands set up and use. 2.) Point twill drafts used and the various tweaks, and 3.) show and tell of the finished towels. There may be other posts in between as I work through projects on my Spring.
Click on the picture to enlarge.

This is an 8 yard (possibly closer to 9 yards) warp. I seem to have lost my notes right now. Its 8/2 cotton in natural and I bought it from a Quebec based yarn store at Etsy, which appears to be dormant now. It was a nice chunky 3 pound cone of 8/2 ring spun cotton. It appears to be a bit over twisted and so wants to curl up if not under tension. Consequently, it was a bit of a bear to beam but with my husband's help we fought through it. Now that it's in place and being woven up, I have to say that its lovely and it was worth the battle. It does produce extra lint though.
I have attached the Helping Hands to the top of the Megado castle and it's important to use the little "T" widgets in the raddle slot to keep the parts in place and not sliding off and away. It would seem my raddle is a tad bit long so I had to be careful where I placed them. The loom is a 2001 model and so not the same size as the more modern versions. This caused issues later as you will read.

After setting the warp up on the lease sticks I attached a metal rod through the bottom loops of the warp and drew it downwards to the apron rod. Then you use circular loops of texsolv with straight pegs to close them, and hold the two rods equal distance apart of 1-2 inches. I have extra texsolv cord and pegs from a past loom so I could make up more up for a wider warp. Then you lace the metal rod to the apron rod. Note the security cord around the raddle to keep the threads in place there.

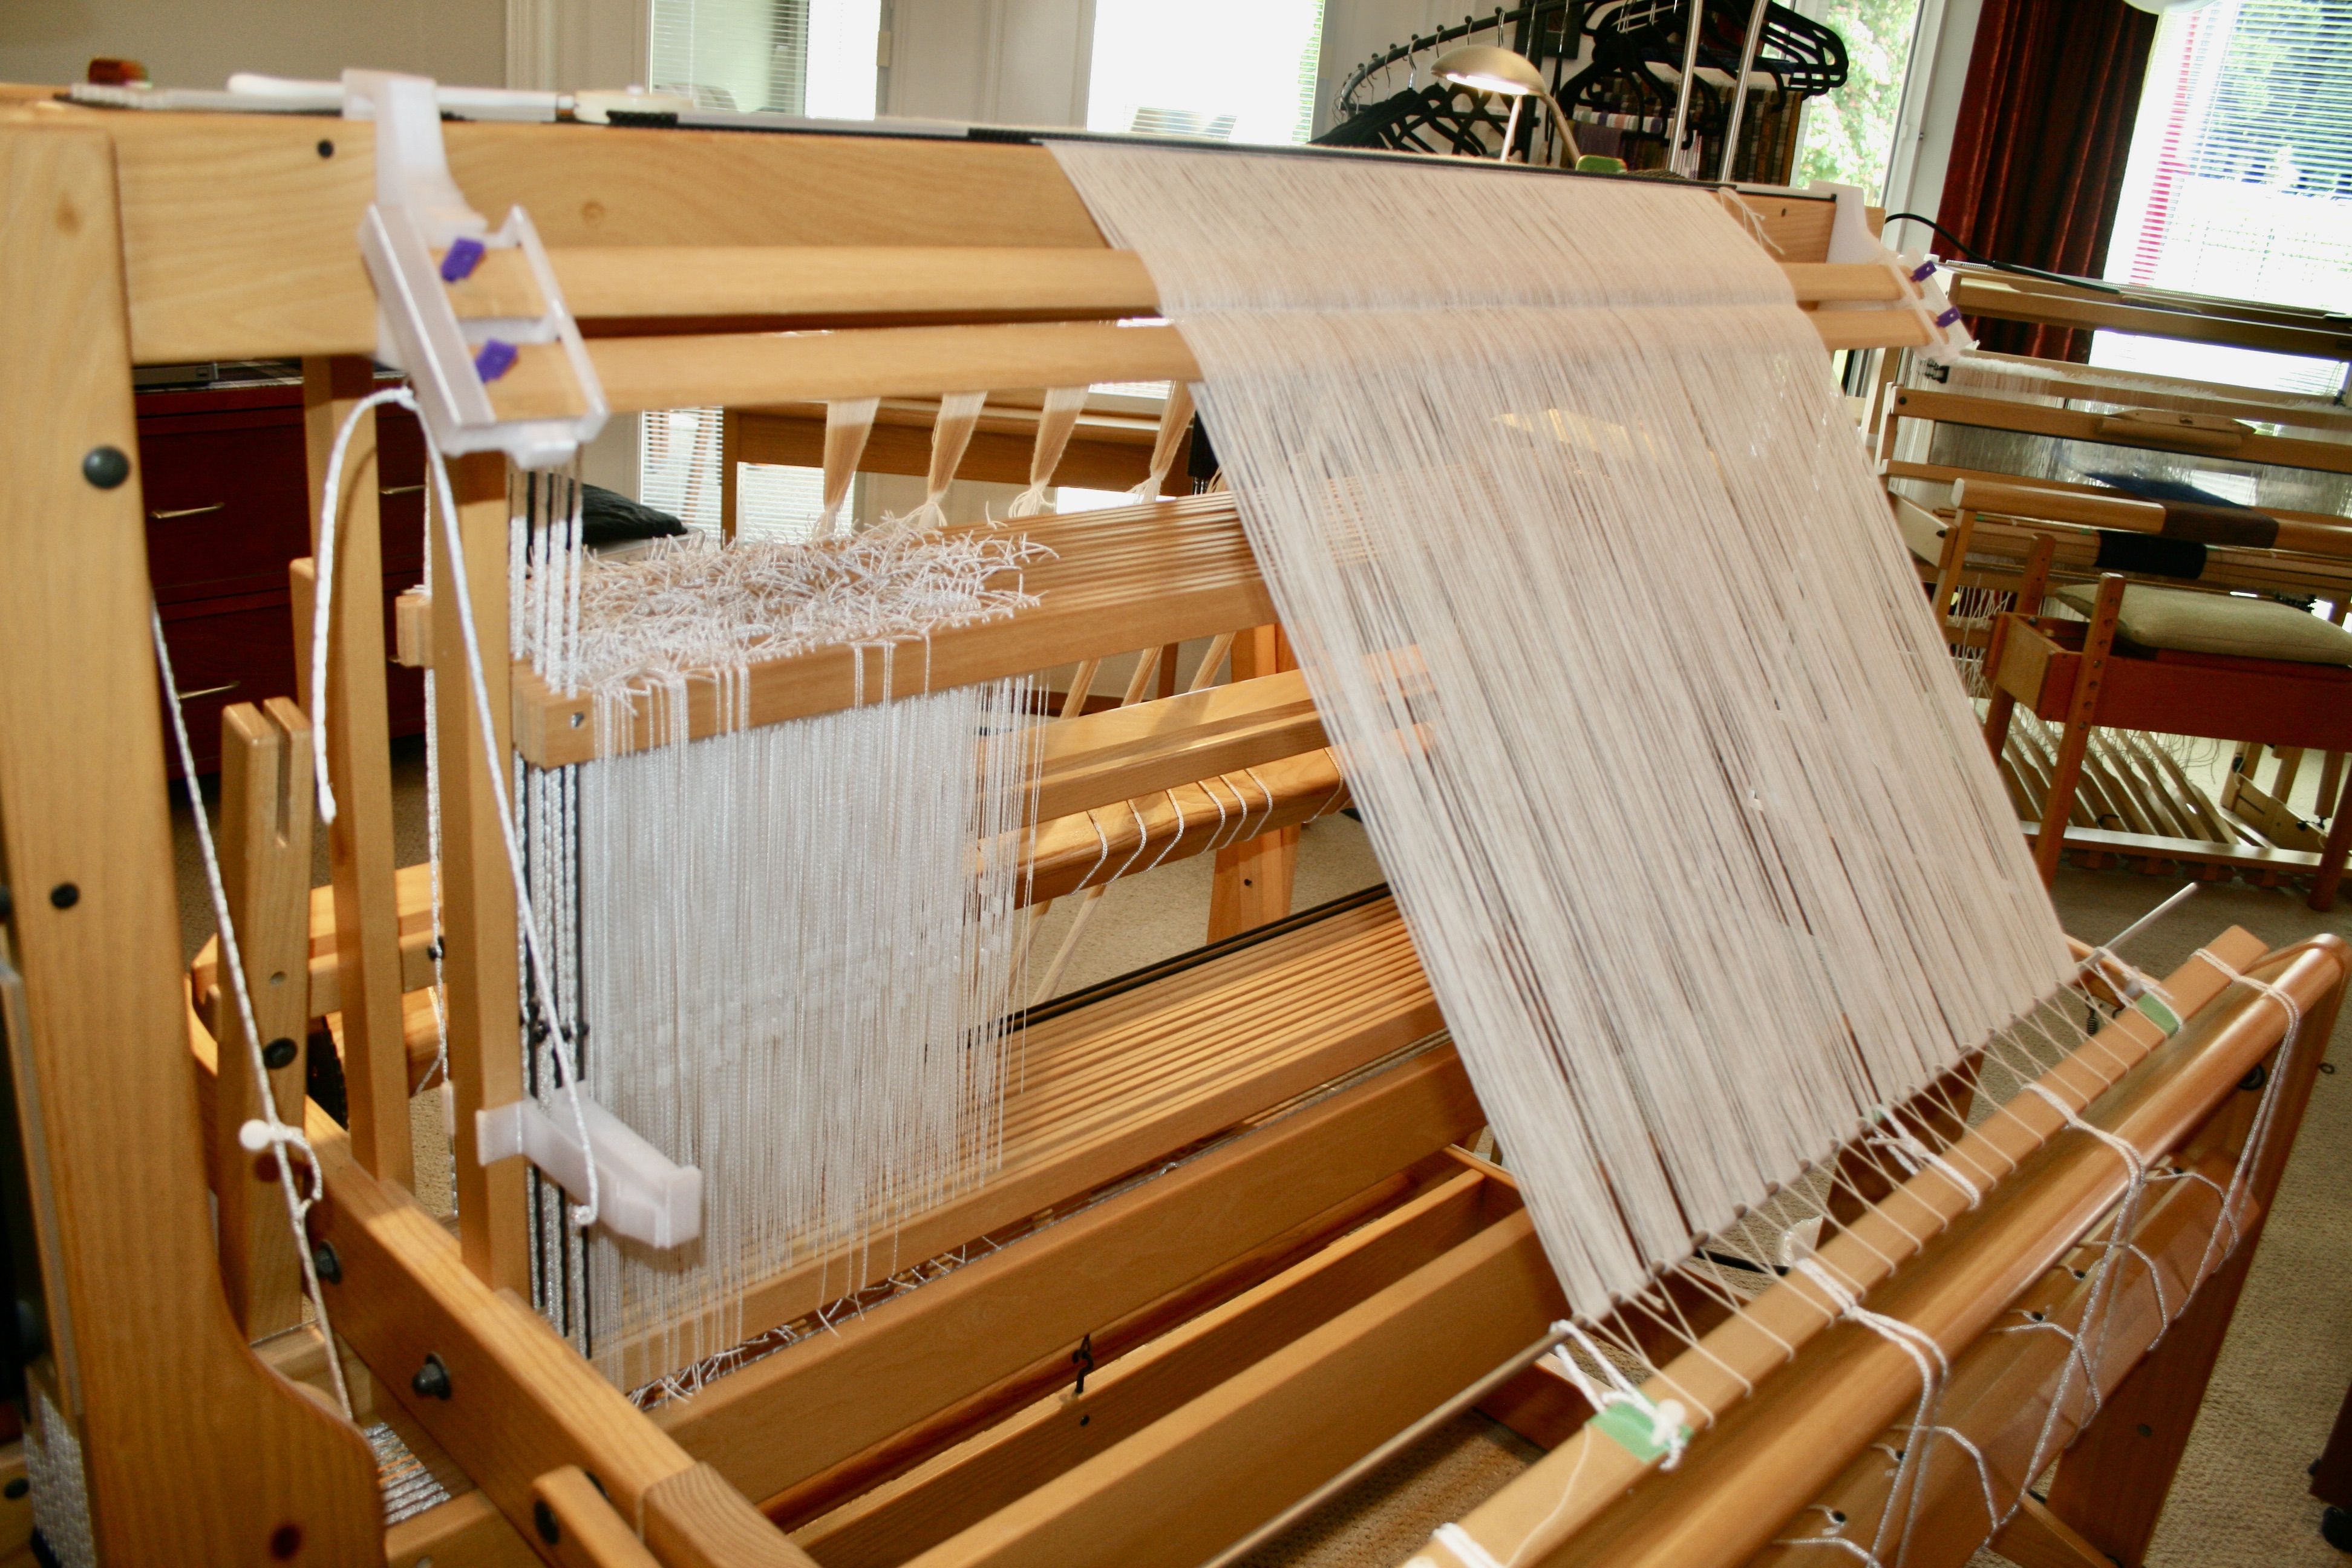
Then, here's the view from the front, where I have weights hanging to keep threads behaving.


Beaming is under way and I always like this part and the smoothness of the threads. Hubby assisted me and we took our time as the threads wanted to 'halo' and hold hands, snarl and tangle a bit due to over twist and generally be cranky. We got through it all with no broken threads which is a miracle!
Then it was time to move the lease sticks and snap the end brackets into the lower parts for threading and that's when I discovered an issue....


Now, these two green 3D printed brackets are from Gingerlocks Handwovens and came too late to use when I tried their 3D brackets to beam the last warp. They attach to the front of the castle and you use them to support the beater and hold it up out of your way for threading! *check Gingerlocks out as they have other nifty Megado tools as well*
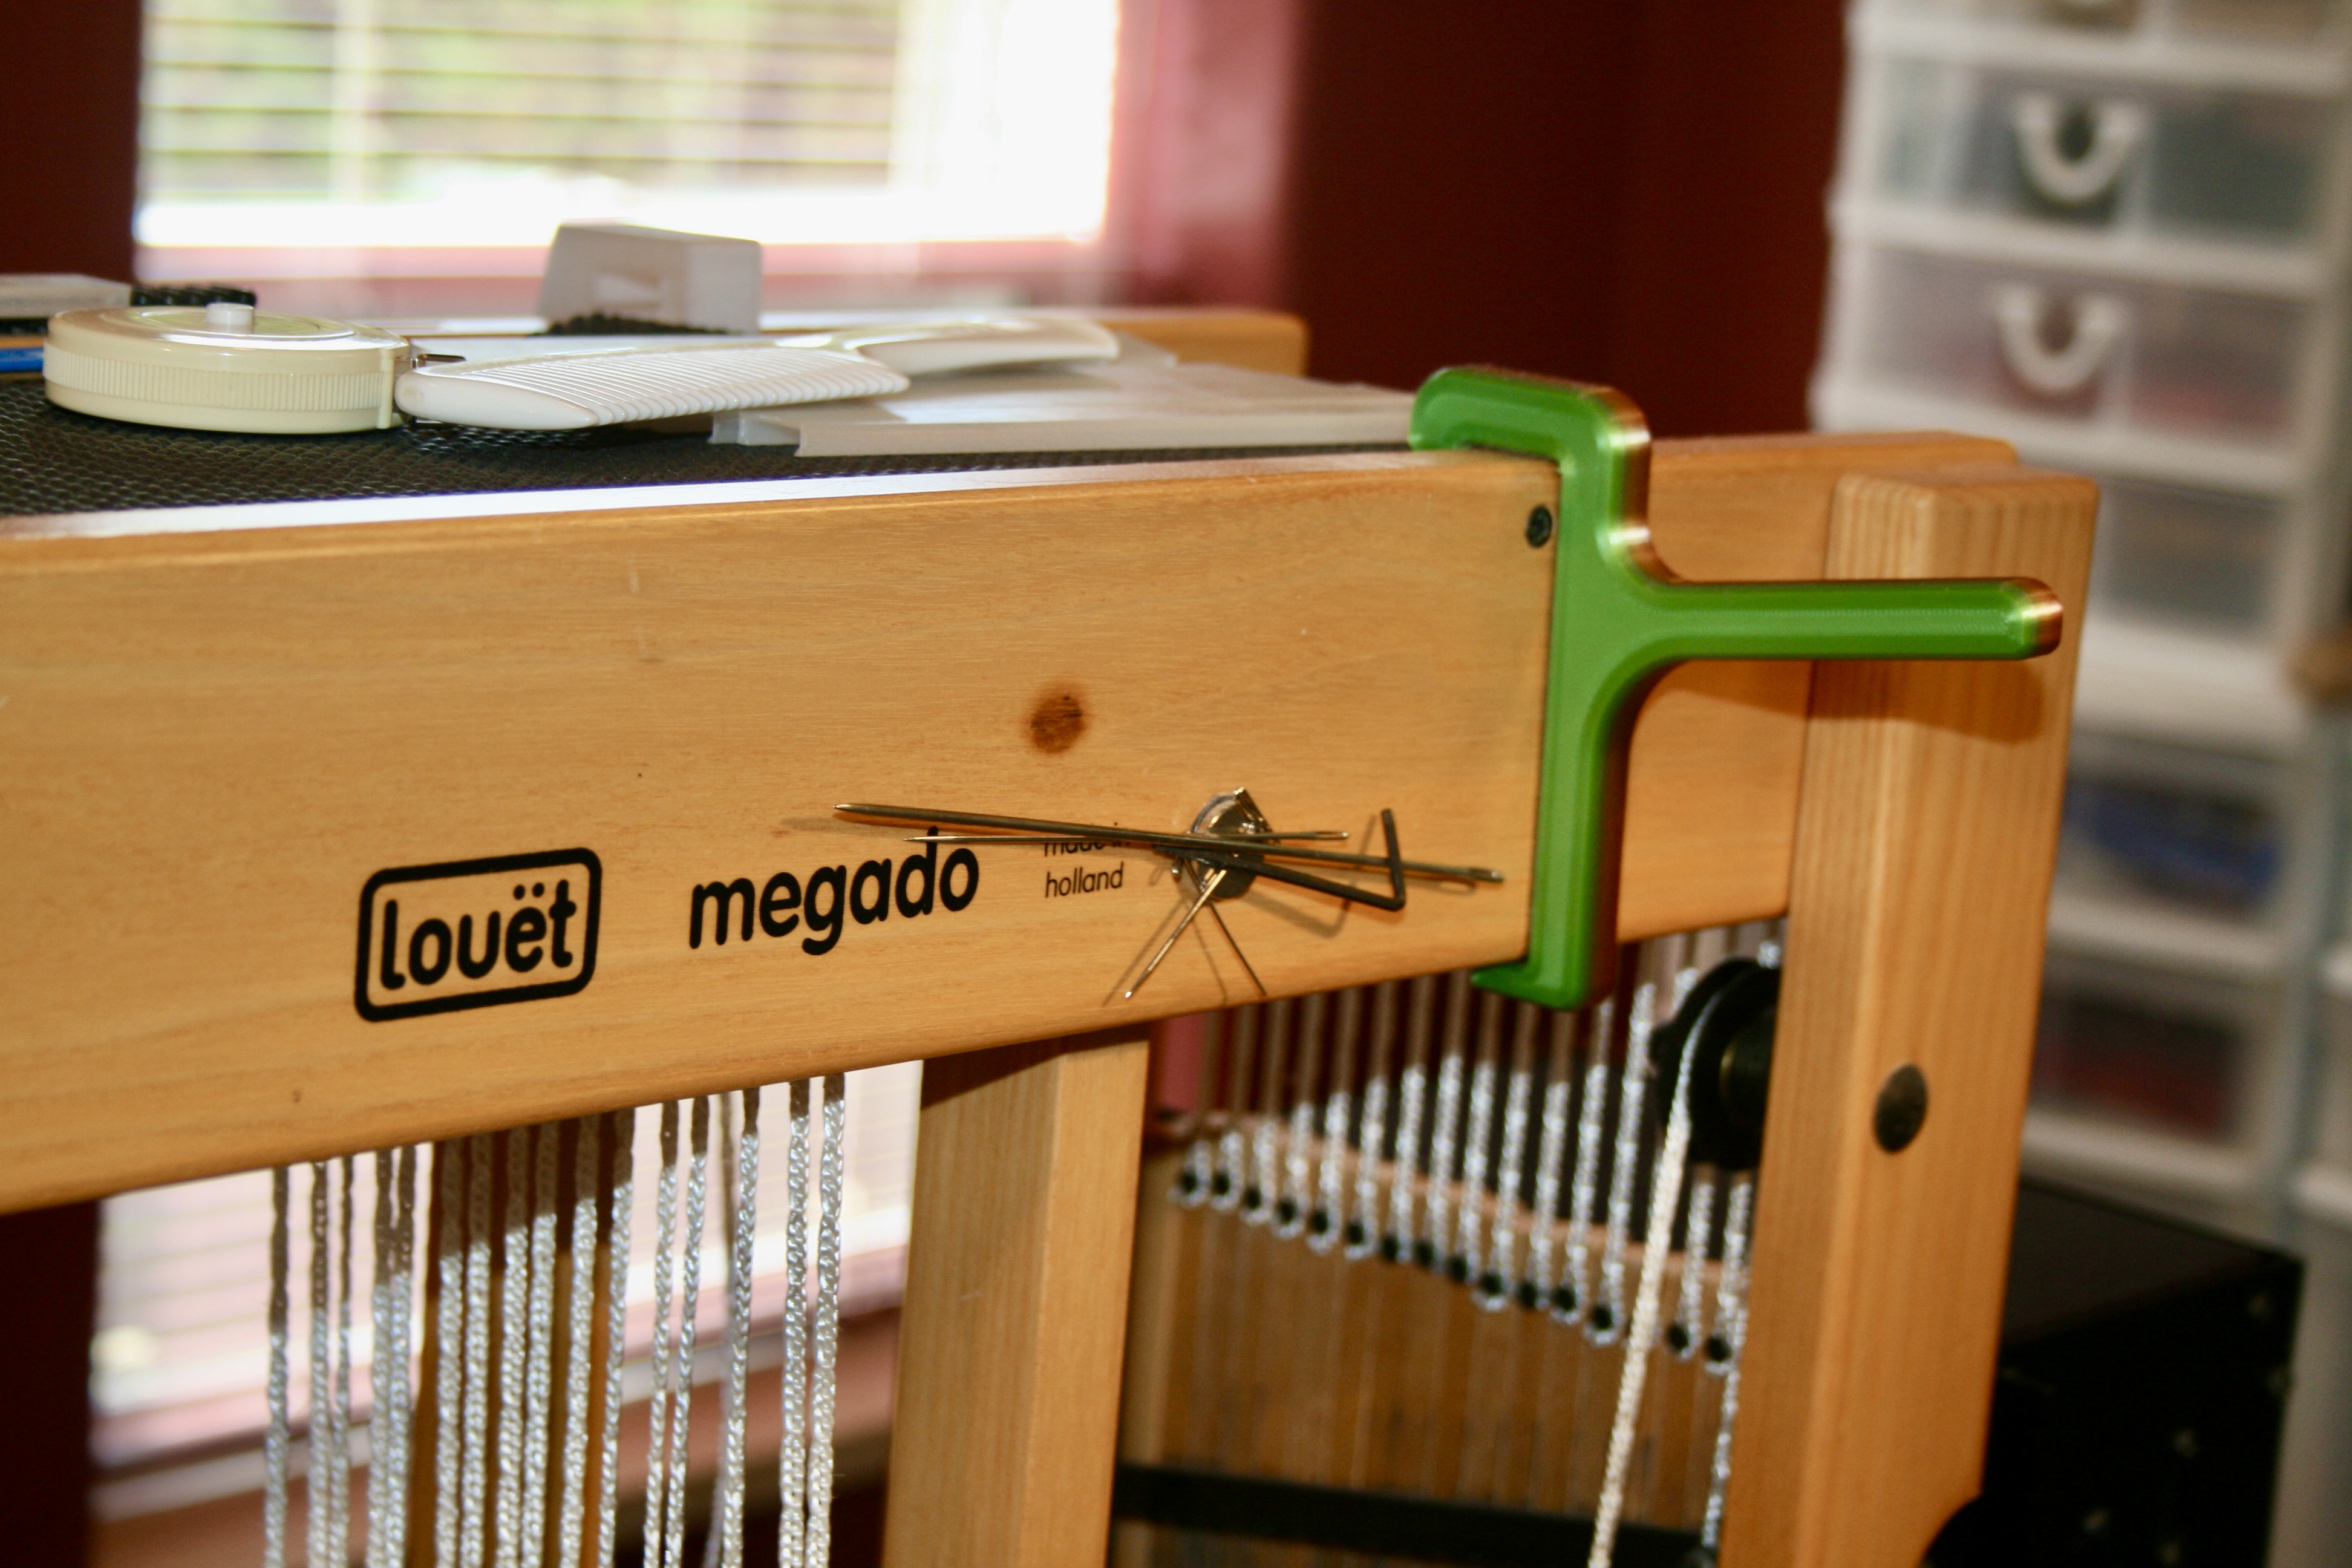
As you can see from the of pictures below, it works quite nicely and I'm happy with them. I don't have the room to physically swing the beater up and out of the loom and then fight to get it back in place. This is so much simpler. The Helping Hands bracket holds the lease sticks at just the right height ( and there are adjustable texsolv cords to allow for some movement up or down)

The threading is a 16 shaft point twill. So a series of runs up and down, over and over again. I still mark my progress on a threading guide and shift my mini post it notes and slip knot each grouping. Its a slow process as the shafts are set close together, and I always live in hope that if I'm methodical enough in my approach and do a quick double check as I go, I won't have any threading errors later to deal with. (Happily, it worked this time to jump ahead in the story)

Threading all done and here I have lowered the beater bar back into position and then used soft tie cords to hold it upright and centered. Note how the ends of the warp bouts have curled around on themselves.

Then sleying the reed starts, and in the case, 2 ends per dent in my 12 dent reed. I have taken my total number of ends, divided by the epi of 24 for the total project width. Then I divide that by 2 for the half width. That gives me the start point from the centre. This took time as well as the threads still curled up on each other and I had to extract each one as I went along.

Here's a view taken over the top of the beater to see the sorting of warp ends for sleying. With a 16 shaft point twill, it's a relatively easy time of sorting two ends per run and then using the threading hook to nab the groups. I take my time and keep them well sorted. No crossed ends !

So, that leaves us about to tie on and start weaving..... but what are we going to weave?
That's for next time. 😁
No comments:
Post a Comment