So right up front I will tell you this is likely to be 2 or possibly a 3 part post as we look at "Helping Hands" by Lofty Fibers.
Some time ago I saw a brief video clip on how to set up and use these 3D printed parts and brackets and it looked like the bee's knees! I dithered about buying them as there's the whole US $ to Canadian dollar conversion, plus shipping, and then likely customs etc etc. Finally I just ordered and waited for delivery.
I bought a set for both my Spring loom and my Megado loom. They have sets for just about every major loom manufacturer available at their web site. This is the way it comes in its own little bag plus written instructions and also a link to the video to watch at You Tube. (The one below is for the Megado, so the parts are somewhat larger.)
So the Spring loom was empty first and so I used it this time round for beaming. I'm sure that I will feel more confident with repeating the process, but it seemed to work nicely after I figured out the lease stick and pegs.
Here you can see I have attached the upper brackets to the castle (they have slightly different models for Spring 1 or Spring 2) This is a Spring 1 loom. The lease sticks slide into brackets and the brackets snap into place in the holder.
The picture below shows the bracket in position BUT I have the clips in the wrong place. The lease sticks should be further to the right and the pegs in the holes should be in the centre of the bracket. First time using them!
I was able to slide my raddle covers over and then set my threads into the raddle : 5, 5, 5, 5, 4 to give me 24 epi.
This is the lower bracket in place further down. This where the lease sticks and their holder end up being placed after beaming. It holds the lease sticks at a comfortable height for threading, determined by lengthening or shortening that bit of texsolv cord to a cup hook.
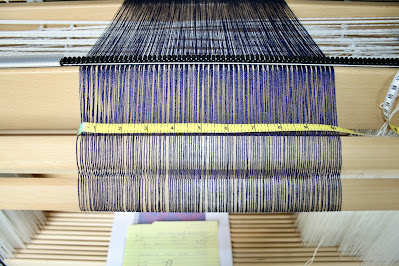
All done and the tape measure shows my centered 10.2 inches in the raddle. I have also placed a fine seine cotton cord around the threads in the raddle to keep them in place during beaming.
Then you take a smooth wooden apron stick or 1/4 inch round bar stock rod and slip it through the threads on the lower lease stick and draw it down towards the apron beam. They provide two texsolv 'loops and pegs' to hold the two rods equally apart and stable. You can adjust this to be smaller if you like. I'm going to play with it a few warps and then mark my preferred texsolv slot.
Then you lace the two as shown above. Now you are ready to beam on. Go to the front and find the first choke tie and gently tug the warp straight. It should all be nicely even.

Here the warp is being beamed on and it went very smoothly! Seven yards and no issues at all.
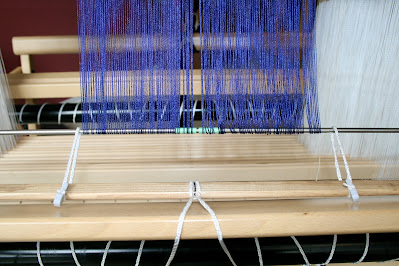
You stop when the ends are just below the upper castle. Un-tie the last cords and trim across the ends. Below is the view at the back.... all neat and orderly!
Next step is to take off the cord around the warp in the raddle and lift them out of the slots and drop straight down. Then go to the bracket holding the lease sticks in place and unsnap them on both sides and lift them up and then down to the lower bracket for threading. Adjusting the texsolv cord until you get the right height for your comfort. A quick swipe with a felt marker marks the right slot on the cord for next time.
Below, you can see that I've corrected the lease sticks and have them situated better and the pegs are essential to keep them secure!!
Here's a good view of the cord placement between upper and lower brackets.
This is the view from the front and we are ready for threading!
Next post will be about getting started.... stopped and making changes on the fly!


