Pages

Thursday, January 27, 2011

Under the Influence?

Have you ever bought an over the counter medicine and chuckled at the line on the back of the box that says:  "... and do not operate motor vehicles and large machinery..."  Well, apparently  the laughs on me as it seems I can't operate my loom! 

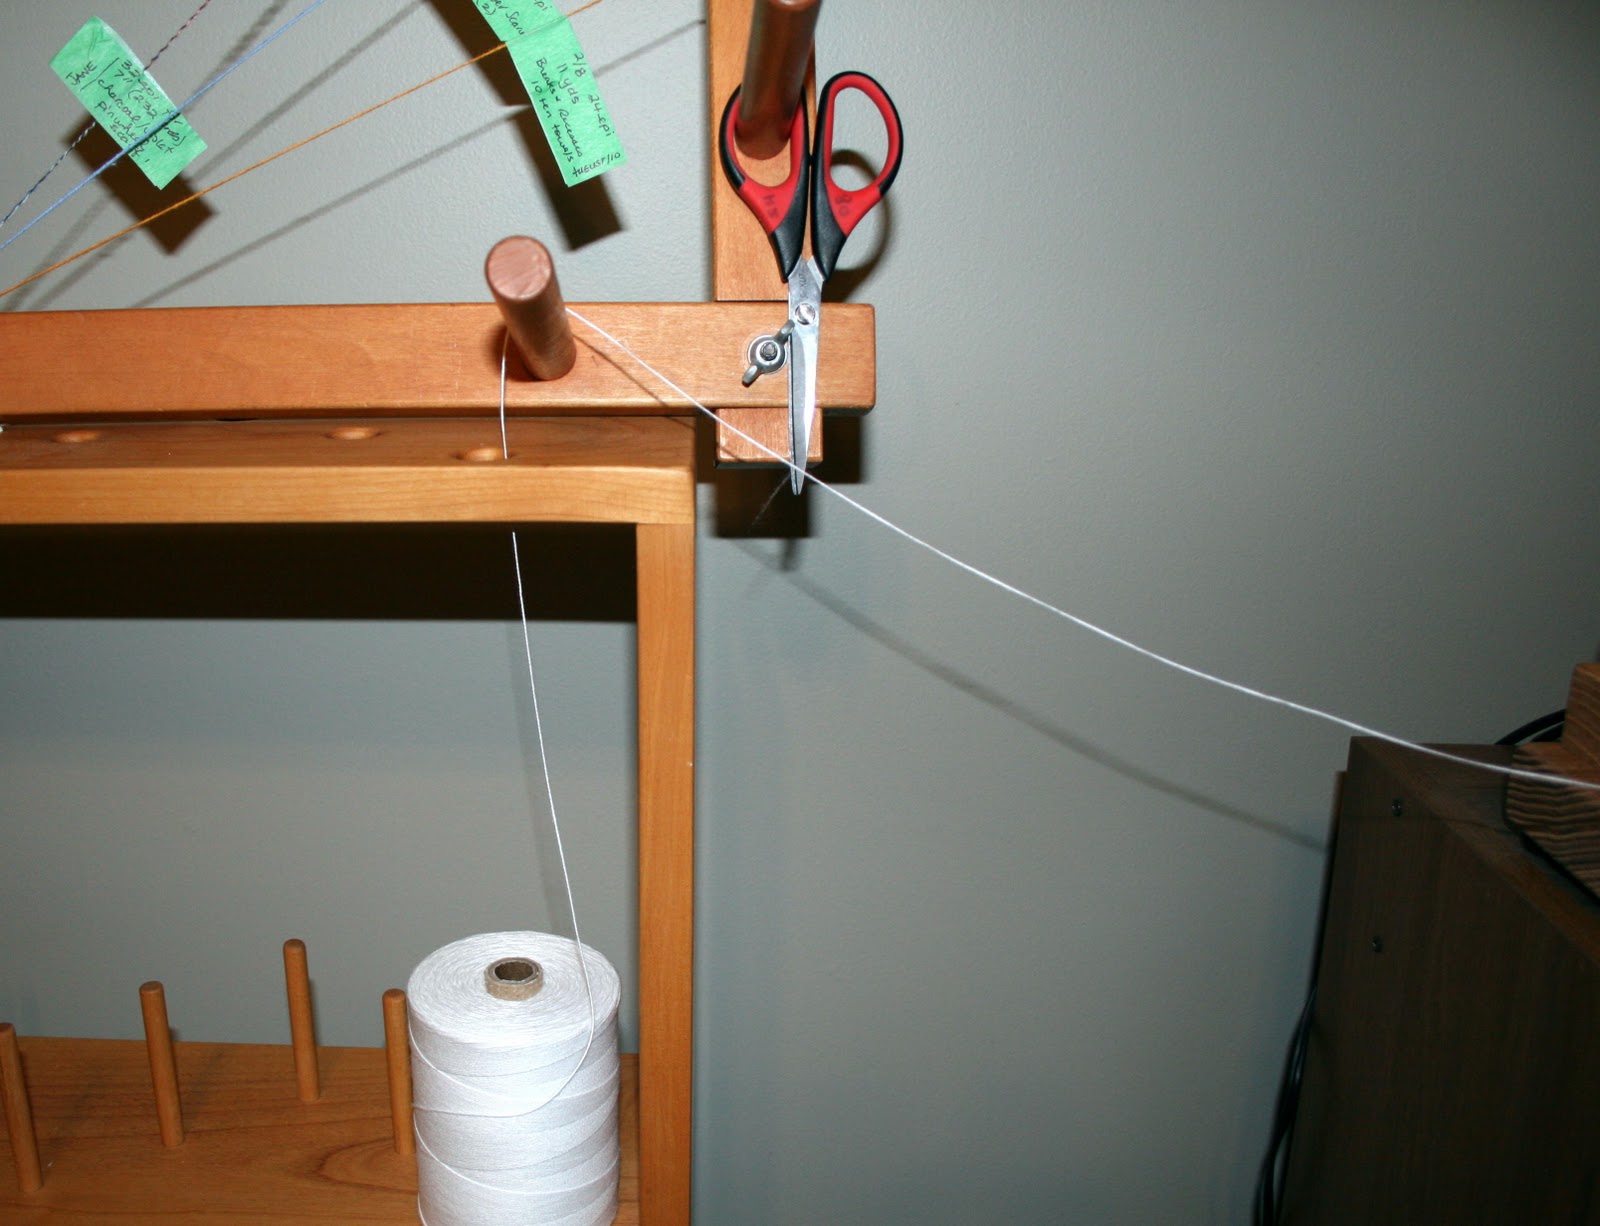
I was not able to sit to weave in the past while, I thought I could at least wind a warp and dress the Louet and get her ready for my return. Some positive thinking at play here. Loading the Louet Spring was not hard to do and involved no serious bending of said cranky back.  First goof was at the warping board when I  apparently wound nine yards while have only planned on paper for six and a half.  It took a picture of my warping board and the green record tags in a previous post to discover that error. Okay, so its now three scarves and samples. Not a serious problem...

Here it is going on the loom. I just love the orderliness of it all.


This is 10/2 tencel in black and silver. I am trying my first graduated colour warp using the Fibonacci method. I recorded this excerpt from a weaving discussion on line and can't recall the author, so my apologies:

A really common way of blending colors is to use the Fibonacci series. That series is made by using the number 1, adding 1, and then adding the sum to the preceding number to get the next one: 1, 1, 2, 3, 5, 8, etc. So you’d introduce first 1 thread of the new color, 8 of the old, 1 of the new color, 5 of the old, 2 of the new color 3 of the old, 3 of the new color 2 of the old, 5 of the new color, 1 of the old, 8 of the new color, 1 of the old. . sort of like that. You can use the same idea with other numbers.
{1 new, 8 old, 1 new, 5 old, 2 new, 3 old * 3 new, 2 old, 5 new, 1 old, 8 new, 1 old} * = centre

So the warping went well and helped me to feel useful and somewhat productive. Next up came the threading which took longer to accomplish due to chair and the sitting issues. Since it was done so slowly, it had to be okay?  right? (don't get  too ahead of me now!)   Same slow progress with the sleying. I used a 12 dent reed and sleyed the 8.75" warp at 28 epi (sleyed 2,2,3)

The next part was the tie up and I knew this would be a problem. We got the loom up on the crates but even with it raised up higher, I couldn't sit on my low stool to do the 144 cords for the 12 shaft, 12 treadle pattern. So I must confess the loom stayed perched up there and gathered dust for awhile. Then last week I was feeling so much better and I started the tie up. I did one treadle and when I felt a twinge, I stopped and left it for another day.

So a few days later, I was back and carried on, all the time being careful to do one treadle and then stretch and move about. When I got to treadle ten and my sheet said I should be on treadle eleven now. Oh, crap!
I simply could not believe it.
When I had calmed down and then studied my chart I understood what I had done. I'm using 12 of 14 treadles, so left the far left and far right treadle are on the floor. Next, I had tied up the second treadle which we will now call number one for the pattern. I had moved my post it notes that I use to isolate the row I'm working on over to treadle two and had quit for the day. So when I came back a day or so later, I moved the post it notes over one more thinking that's where I had left off and carried on.  Happily, I had a relatively simple fix!  I unbuttoned the bottoms of the cords on the first tied up treadle and simply slid them left to the unused treadle, then tied up the former number one and turned it into the missing number two!
I felt so pleased with myself.

I tied the warp to the front apron, added my floating selvedges and threw my first few shots of waste yarn.  Then after playing with my new fancy smancy AVL bobbin winder and loading up some weft pirns, I got down to business and wove the border. Its a very complex pattern and Iooked hard but didn't see any glaring mistakes. I quit for the day and the next day after my physio I wove a full repeat and that's when I saw the mistake. The graduated stripes didn't land on the same shafts from one side to the other.   Hubby came in at this point and asked "why so glum chum?" I gladly accepted his offer of help and we dug in behind the beater and reed and examined the shaft numbers and sure enough, they were not the same. So I  un-wove the repeat, pull through the reed and raise a lease stick under the warp to keep order and we re-threaded all over again. Bruce called out the runs and I threaded. We did find one part where I had added one extra repeat of a small point twill (oops!) We thought that must be why the two sides didn't match so moved ahead now confident we had caught the culprit. It was our very first time working together like this in the studio and it was a pleasant time. We didn't bicker or anything!

Resley, tie on and a few runs..... and they still don't match.  That night I sat with the laptop computer on my couch and worked my PCW Fiberworks hard! I altered the Fibonacci sequence a bit but now the colours line up on the right shafts. So with new chart in hand we jointly rethreaded the loom and I resleyed  for the third time.

Yesterday I wove just one repeat and had to stop as the pain has returned to my thigh. But I will show you what I have so far. The colour changes are on the right shafts and there are no errors!

Here's the over all effect showing the colour gradation and of course the patterning. I hope you like it as I have three of them to weave slowly and after this I plan to weave table runners in the same pattern  and therefore getting more bang for my tie up time! It will be around for some time...

This picture is taken a bit closer... click to enlarge any of these. What I can't share with you is the hand this cloth has. There is a definite  textural feel to it. It is fully reversible and it has an elegant appearance. Gebrochene is known for this. This pattern is of mixed parentage and also features 'hind und under'. I'd be hard pressed  to tell you exactly how.  I have woven both gebrochene's and hind and under before separately. Hind und under can be a bit busy to my liking, but this I like. I found this pattern at handweaving.net when on a big search for some 12 shaft patterns for Dorothy and her new extra shafts.


12 shaft gebrochene/ hind und under
So why so many silly mistakes? I like to think that maybe the pain medications I'm taking have me a bit more muddled than my normal state (and trust me, now after the big M, I get muddled!).  Don't worry I'm leaving the driving to hubby.
With so little happening in my studio right now I'm not certain what my next post will be about.....I will have to give that some serious thought!  Now there's a chore and a half!   :)

Saturday, January 15, 2011

Patience is a Virtue

Thank you for patiently waiting for something weaving related. My back is slowly improving and I'm able to do more, but that's the rub! I have to resist doing more and setting myself back. I'm happy to pass on vacuuming but I now seem up for other duties.

I have been asked by a friend to share my hemming techniques and so along with the final unveiling of the guest towels, there will be a step by step details of what I normally do when finishing off towels or runners.

Once the warp come off the loom, I fire up the serger. (If you don't have one, then a straight stitch on the sewing machine will do. Just adjust the stitch length so the warp ends are all caught and held in place)

In the picture above you can see the towel on the left with its white hem allowance, then there is a narrow stripe of my scrap yarn, followed by a very short section for samples. I was able to squeak out one more towel, so sampling was reduced to a brief showing  :)   It might be small but it is all you need!

Here they are all cut apart along with my four little mini samples. Next step involves the ironing board. So please excuse the nasty cover as I'm finding it difficult to get a replacement cover for the wider Rowenta board.
In addition to my Rowenta steam iron, I use a small slide ruler sold at fabric stores, straight pins. I firmly press the towel and then measure the hems at both ends to ensure they are the same length. I divide the depth of the hem by three and  make the first turn.

Then using full steam and a heavy hand, I press it *firmly*. I fold the second turn and ensure it carefully follows the bottom edge of the hem stitching and then *firmly* press again.

 
In the picture above you can see the folded hem (shown front side up) and ready to be stitched. It stays put after the pressing but I do add some pins to keep it in position during its move to the side table in the living room.

It took a bit of time but all twelve towels finally were turned and ready for the next phase. I was getting a lot of couch time recently  and so having these to work on was a nice break!  I really enjoyed hand sewing the hems and it seemed to help me feel useful and still working on weaving how ever thin a thread!

I like to use quilters sewing cotton. Its a bit heavier than the polyester thread and less likely to twist. I also feel that I wove a natural fibre towel, so use a natural fibre thread to finish it. Above I'm drawing the thread through the Thread Heaven to reduce twist and improve the movement of the thread through the cloth. It seems to reduce 'tug'  if that makes sense!

I always start at the side fold....

I don't like leaving the side fold open. It leaves the door open for the handwoven fabric to unravel and trail ends out the side and generally look messy.  If there is a little of the first cloth fold pushing its way out of line, then I will ease it back into line using the needle.

Once its in place, then I pinch the whole thing with my fingers and start in the end of the fold. I want this part to lay flat so I sew back and forth straight through the cloth.


Then once I get to the main part of the hem, I switch to my running blind stitch. (I think its called this)

Running the needle through the hems fold to 'hide' the thread and at very short intervals, you pop up. I make my stitches very close together as this will be a towel that will be machine washed most likely. I want it to last!
Then you slip the needle through a weft thread or two and through the leading edge of the hem and pull snugly but not so tight as to misshape the appearance  in the front. Slip the needle back into the fold and move along. That's it. When you get to the other end, you move down into the side fold and flat sew that closed as well.  The pictures above show the non-fancy hem. It works the same for the fancy hemstitched hem allowance too.
The space between the ladders is clearly where you run the thread in the hems fold.  So what do I do when the sticky out bit at the side is too large to push back into place with the end of the needle?  While I'm not sure if this is the right way, it is what I do....

I gently snip off a portion with sharp scissors, then ease into place with my needle and then flat sew it with extra small stitches to keep it firmly closed!

Sorry for the wack of photos but I feel they can show you the process better than I can explain it. It's certainly not complicated and you should have it worked out after one towel. Feel free to adapt to suit your needs and please share with newbies.

So to review:
  • press firmly into thirds with a heavy steam iron
  • use small stitches and take your time
Do I ever machine sew? yes! I use it on towels that will be tossed into the wash regularly and doesn't have fancy hemstitching. Sometimes I use hand sewing when I don't want an obvious stitch line  running across the cloth as it is visually distracting. So I started out as a new weaver wanting to machine sew everything and slowly over time I have moved more and more to finishing by hand for the obvious benefits it provides of being as secure and  less obvious. It does take time to do this work but after what you have already spent winding your warp and weaving, its not a lot of extra time.

Next step is to wet finish them!    I placed them in the washing machine and set them for delicate. When they came out I took each one in turn and worked them between  my  hands and pulled them into shape and and then lay them flat on towels  and  left them for a couple of hours to absorb moisture.

Back to the ironing board... same disclaimer as before :)    I pull and shape the towels giving particular attention to the edges near the hemstitching as it can draw in here. I carefully snip off all weft tails and fire up the iron. Since they are already damp, steam isn't required this time.

I press very firmly!  I can lower my board down a bit to make applying pressure from above easier. What we are doing here is to set the threads into their permanent position. Even if the next owner of these towels opts for pressing, they will never need to be done like this again. { Not all weave structures need this or should be ironed this way... its a case by case choice. These are woven with fine smooth threads and reversible pattern}  I'm already whispering about needing a small steam press like Lynnette has for my birthday... wish me luck!  I see the store she bought it from doesn't have them listed anymore!

Once the towel is well pressed front and back, I like to fold it into thirds lengthwise, pressing as I go.  I'm one of those weird people who actually likes ironing!   I'll have to show you my 1950's rolling press some time I scored a few years ago.

Here are the towels with 16/2 beige mushroom weft. Two with ladder stitching and the top one with trellis style. Here's a close up:

Then there's the bronze gold bamboo 8/2 weft:

I had some pumpkin mercerised 16/2 from a friend many years ago:

There were some done in a gun metal gray in 16/2 mercerised cotton:

I also tried an experiment and I'm still trying to decide if I like it. Hub says he does...

That one Maltese cross on the left looks darker than the others but that's just an optical illusion! The body of the towel was woven with mercerised 8/2 cotton for a play of light on white.  I had to be very careful when weaving not to lose my place as I would never have worked out where to unweave back to!    So they are done at last and what was 8 yards felt more like 16! The hemstitching took a lot of time but I really think these turned out nice and I would be proud to give these as a gifts.

As a bonus for reading this far, I have included here all details of the project plus a copy of the draft. The basic draft came from A Weaver's Book of 8-Shaft Patterns by Carol Strickler and I modified it slightly from there.  Click to enlarge the draft or any of the pictures in the post.


Maltese Cross Project


WARP DESCRIPTION
Warp Yarn: merc cotton
Count: 16/2
Color: cream
Cost, source: roughly $7.95 per 250 gram cone; Brassards, Quebec
Warp length: 8 yards
Warp Width: 13.42" at the reed
Set: 36 epi
Reed: 12 dent
Sley: 3 per dent
# Ends: 484 plus 2 floaters

WEFT DESCRIPTION
Weft Yarn: cottons (various) bamboo
Count: 16/2 and 8/2
Colour: white, gold, navy, mushroom
Sources: mainly Brassards

Pattern is taken from " A Weaver's Book of 8 Shaft Patterns" by Carol Strickler
Page 89, 323-4

Project Length:
19" per towel (4" for hems+15" main part of towel)
x 12 towels
-------
228"
12" samples
15" take up
----------
255"
20" loom waste
-------
275" divided by 12 = 22.92' divided by 3= 7.64 yds (rounded up to 8 yards)
~~~~~~~~~~~~~~~~~~~~~~~~~~~~~~~~~~~~~~~~~~~~~~~~~~~~~~~~~~~~

Project Width
each pattern group =27 ends x two=54
54 times 8 repeats= 432 ends+ 27 1 repeat to balance+ 24 ends borders= 483
Plus 2 ends for floating selvedges.

Warp wound in two bundles of 242 ends each.
Beamed onto Louet Spring.
Various hemstitching to tart the towels up!

Monday, January 3, 2011

Start your Engines!

Happy New Year!

Isn't this a thing of beauty? (click to enlarge)

AVL electric  bobbin winder, with optional tensioner


My 'Santa Daddy' really came through for me this year and ordered this Cadillac to replace my older electric winder!   It was a bit hard not having a box to open on Christmas ( we are all kids deep down  inside wanting a toy to play with!) It arrived on New Year's eve and came out of the box almost ready to go. Just one screw to place for the tensioner, and attach the plug and start winding!

My current winder is an old Leclerc model that came with my first used Colonial loom in 1995. I have no idea how old it was before that....  I had a new foot pedal controller added  and its been super reliable.  I use a lot of  fine yarns and I can't begin to tell you the times I have had what I call 'string burn'. I knew that adding  tension to the yarn as it winds on builds a tighter pirn or bobbin and it then rolls off smoother when you weave. Then in turn, that's helps you to weave better. Its all the little things that add up to a better weaving experience!

I checked out Leclerc's winder. It gets top marks from me for longevity! What's changed since 197?  The former owner started weaving in the mid to late 70's.  It seems quite a bit has changed! If you click here , on the main front page there is a display, plus video of the new winder operating. It is supported at both ends and they have a winding guide that you move back and forth to fill the bobbin or pirn. Okay, no real hands on the yarn now but I want to wind under tension.  There must be other winders out there?   I got busy on Google and Bing!

Schacht Spindle Co. makes a lovely winder where the bobbin is supported at both ends to prevent that annoying wobble you can get at high speeds.  Click the link to see their winder. No tensioning of the yarn though.

I found myself wishing that the  smoothly made Schacht model had the Leclerc thread guide system and then I could still hold the yarn as it fed on?  This would be the best of both  systems.  So what to do?   Go look some more....

I cruised around and finally came to AVL. Now their looms are amazing and there is no way I could afford one, or need one now for that matter, but among their accessories there are bobbin winders! Apparently my drooling and whimpering noises while browsing the AVL web page caught someones attention. ( That and the Christmas list of one item on the fridge) So what's better than a winder that has *everything* I'm looking for?  It was on SALE !


The yarn feeds in through the first hole and then you slip it through two tensioned discs, which are adjustable. These are much like the tensioned discs in the Schacht end delivery shuttle that you adjust with the little allen key. Then the yarn is fed through the other hole and then through the two pig tail guides to the fat end of the pirn. I do a wrap around the bobbin and twist the ends together *tightly* and then start winding. Later when you are weaving the end of the yarn just feeds off smoothly with no nasty tug to spoil your edges.  Once the pirn is started you place your hand on the knob to the right and move that back and forth to fill the pirn. No hands on the yarn, no 'string burn' and nicely tensioned yarn!   Yippee!

The cone is sitting on my warping centre:

So the yarn feeds off the top and up through the hole. Not ideal as there is one twist added to the yarn as each revolution unwinds. It would be better to be laying on its side and reeling straight off. (a spool rack would serve, but I sold mine as it took up too much space! You can only have so much crammed into one room!)  What are the green tags? Those are my reminders of the projects for each yardage pathway on the warping board. They are cut off only when each project is fully complete. You just never know!

The silver / black tencel is the next project to go on Lilibet and its for three scarves plus samples not just two scarves plus samples.  It occured to me that the warp seemed a tad bit long for just two and I had goofed! I'll blame that one on my back pain pills. Sadly, I'm still not weaving due to sciatica.


Now switching subjects entirely, but still weaving related, I have an announcement to make!  My daughter Carrie who knits like a fiend, dyes like a crazy woman and spins her wheel has now launched into the World of Weaving! Its taken more than a few years but the bait has finally landed a fish! Please follow her adventures with her new Schacht Flip rigid heddle loom at her blog. This is her first post and be warned that she's already added another update! If you have any first hand experience with RH weaving, please leave a comment to help. Its the one loom I haven't tried so I'm not much help!

The apple doesn't fall far from the tree! She'll be weaving up a storm in no time...