Pages

Monday, May 22, 2023

✋ 🤞 Helping Hands 2: Spring Version


So last time I wrote, I was all ready to thread.  I had a 10 shaft crackle weave in mind.   This one in fact:


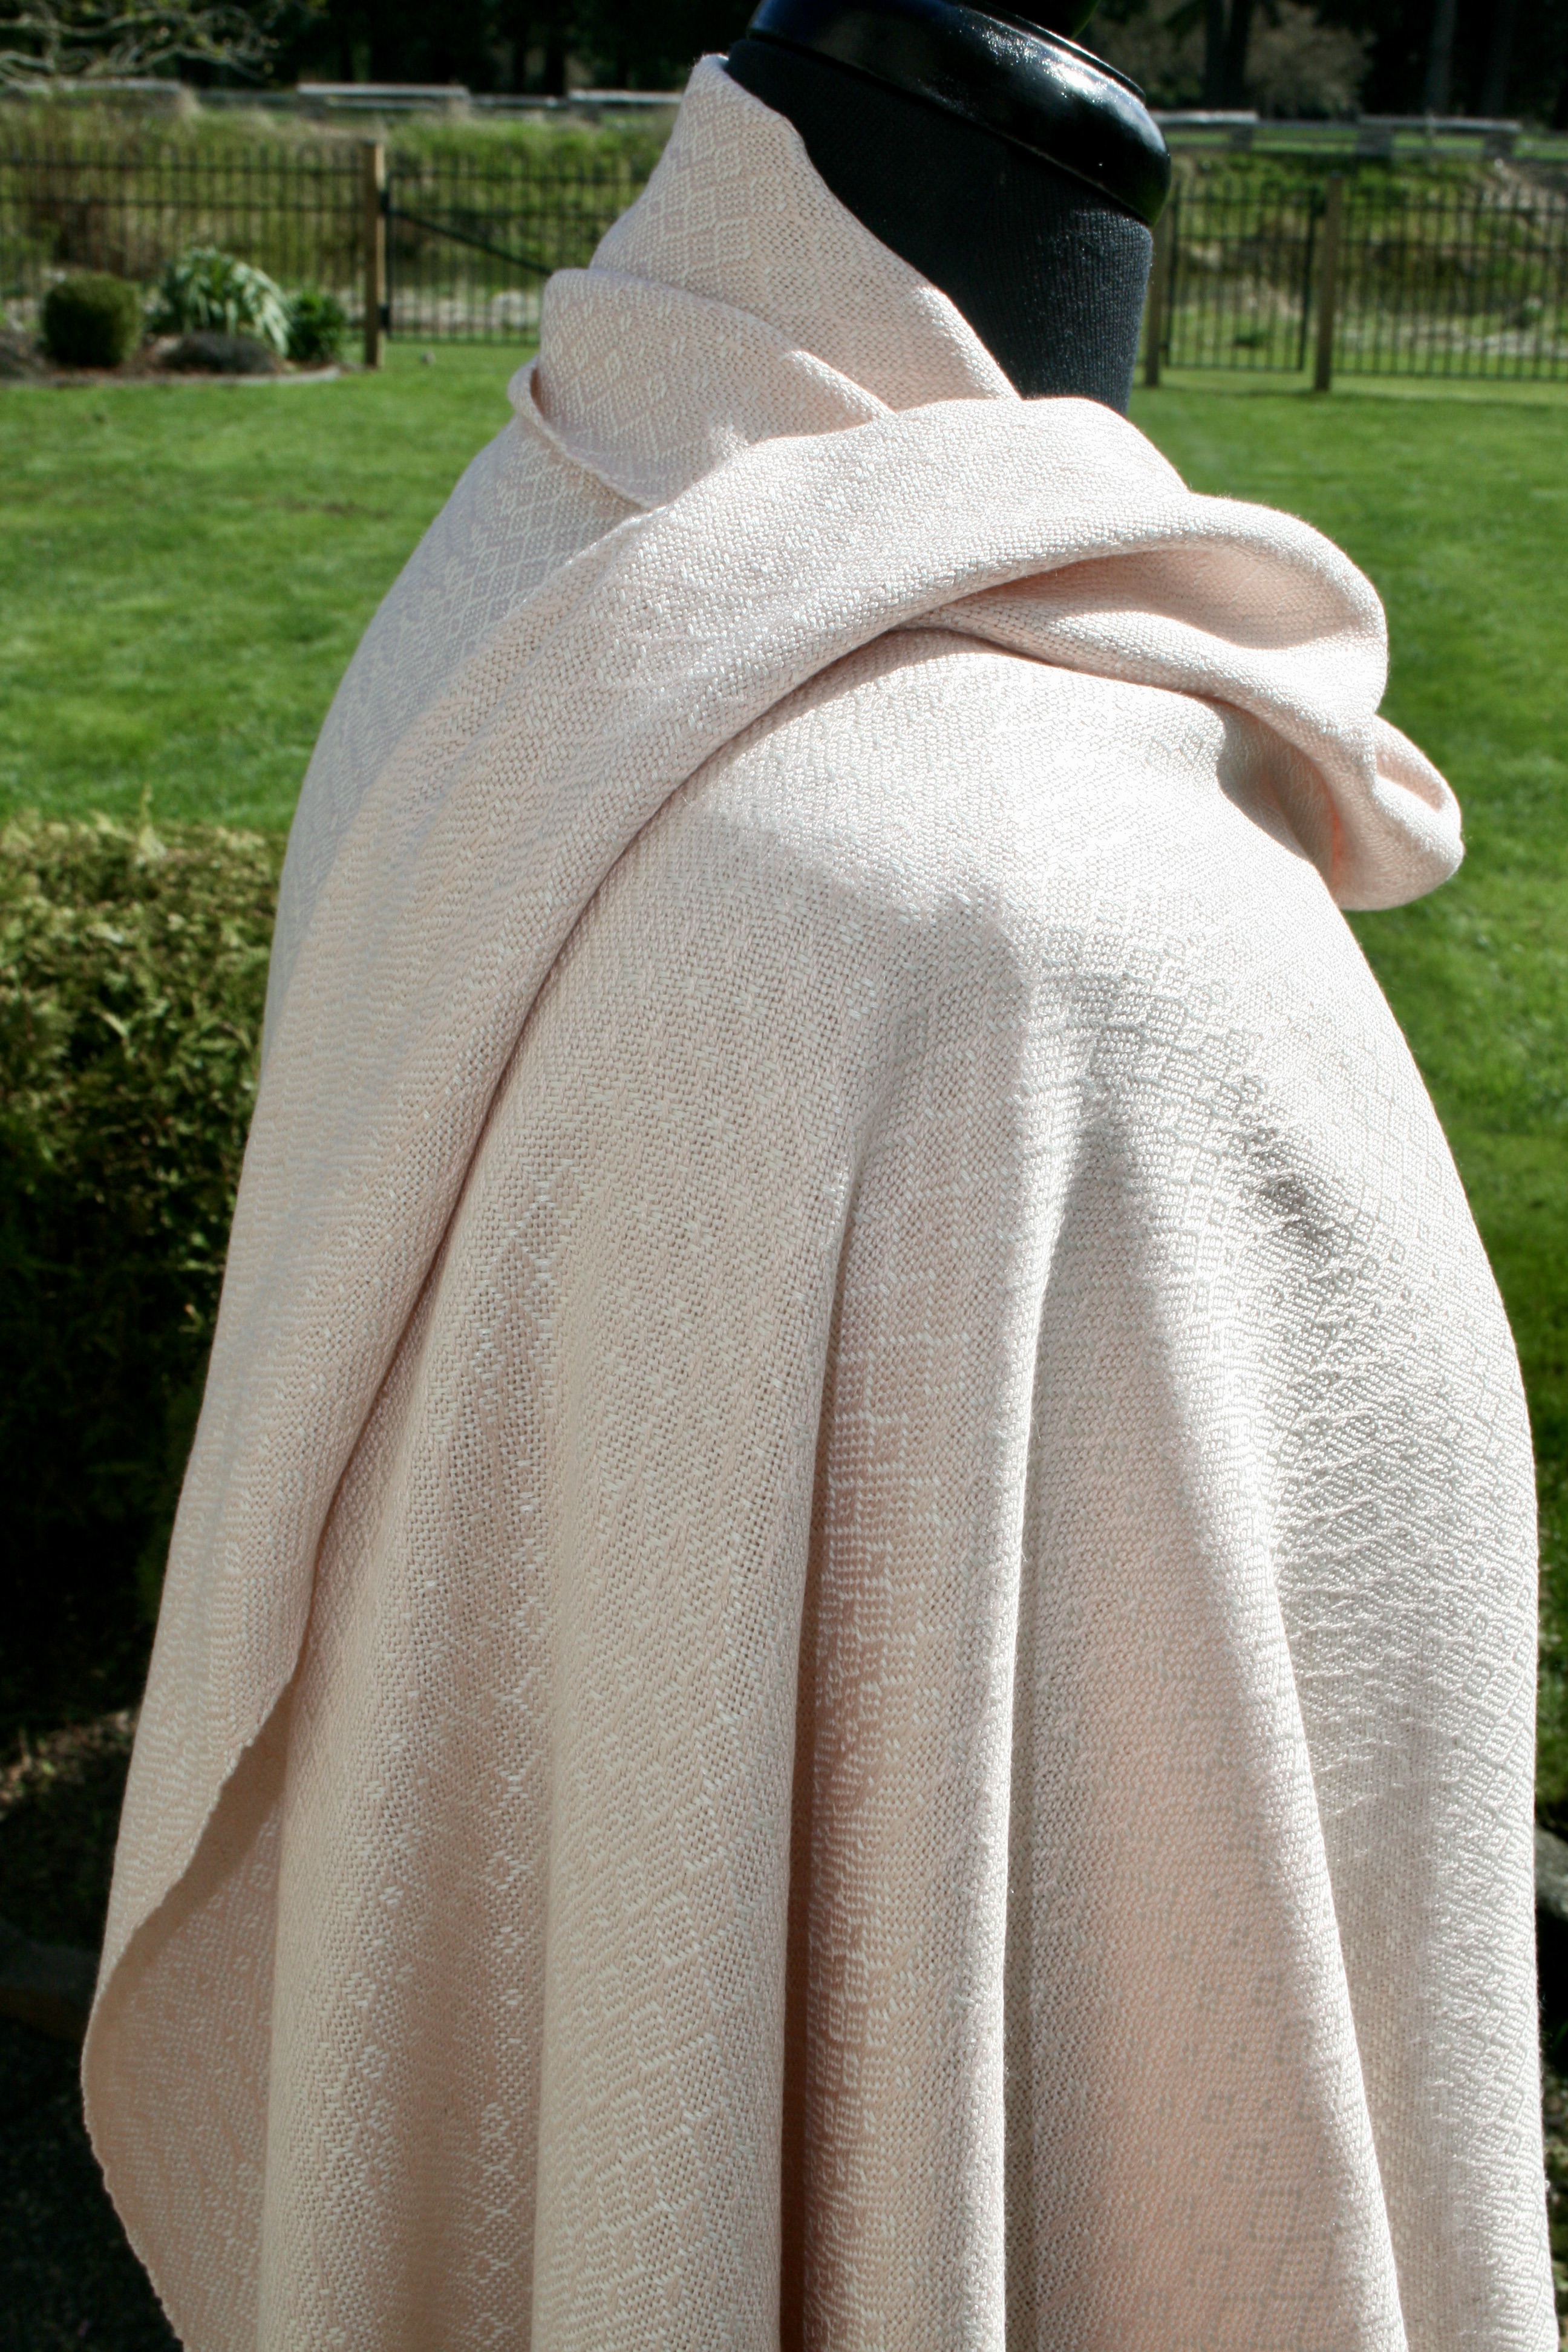
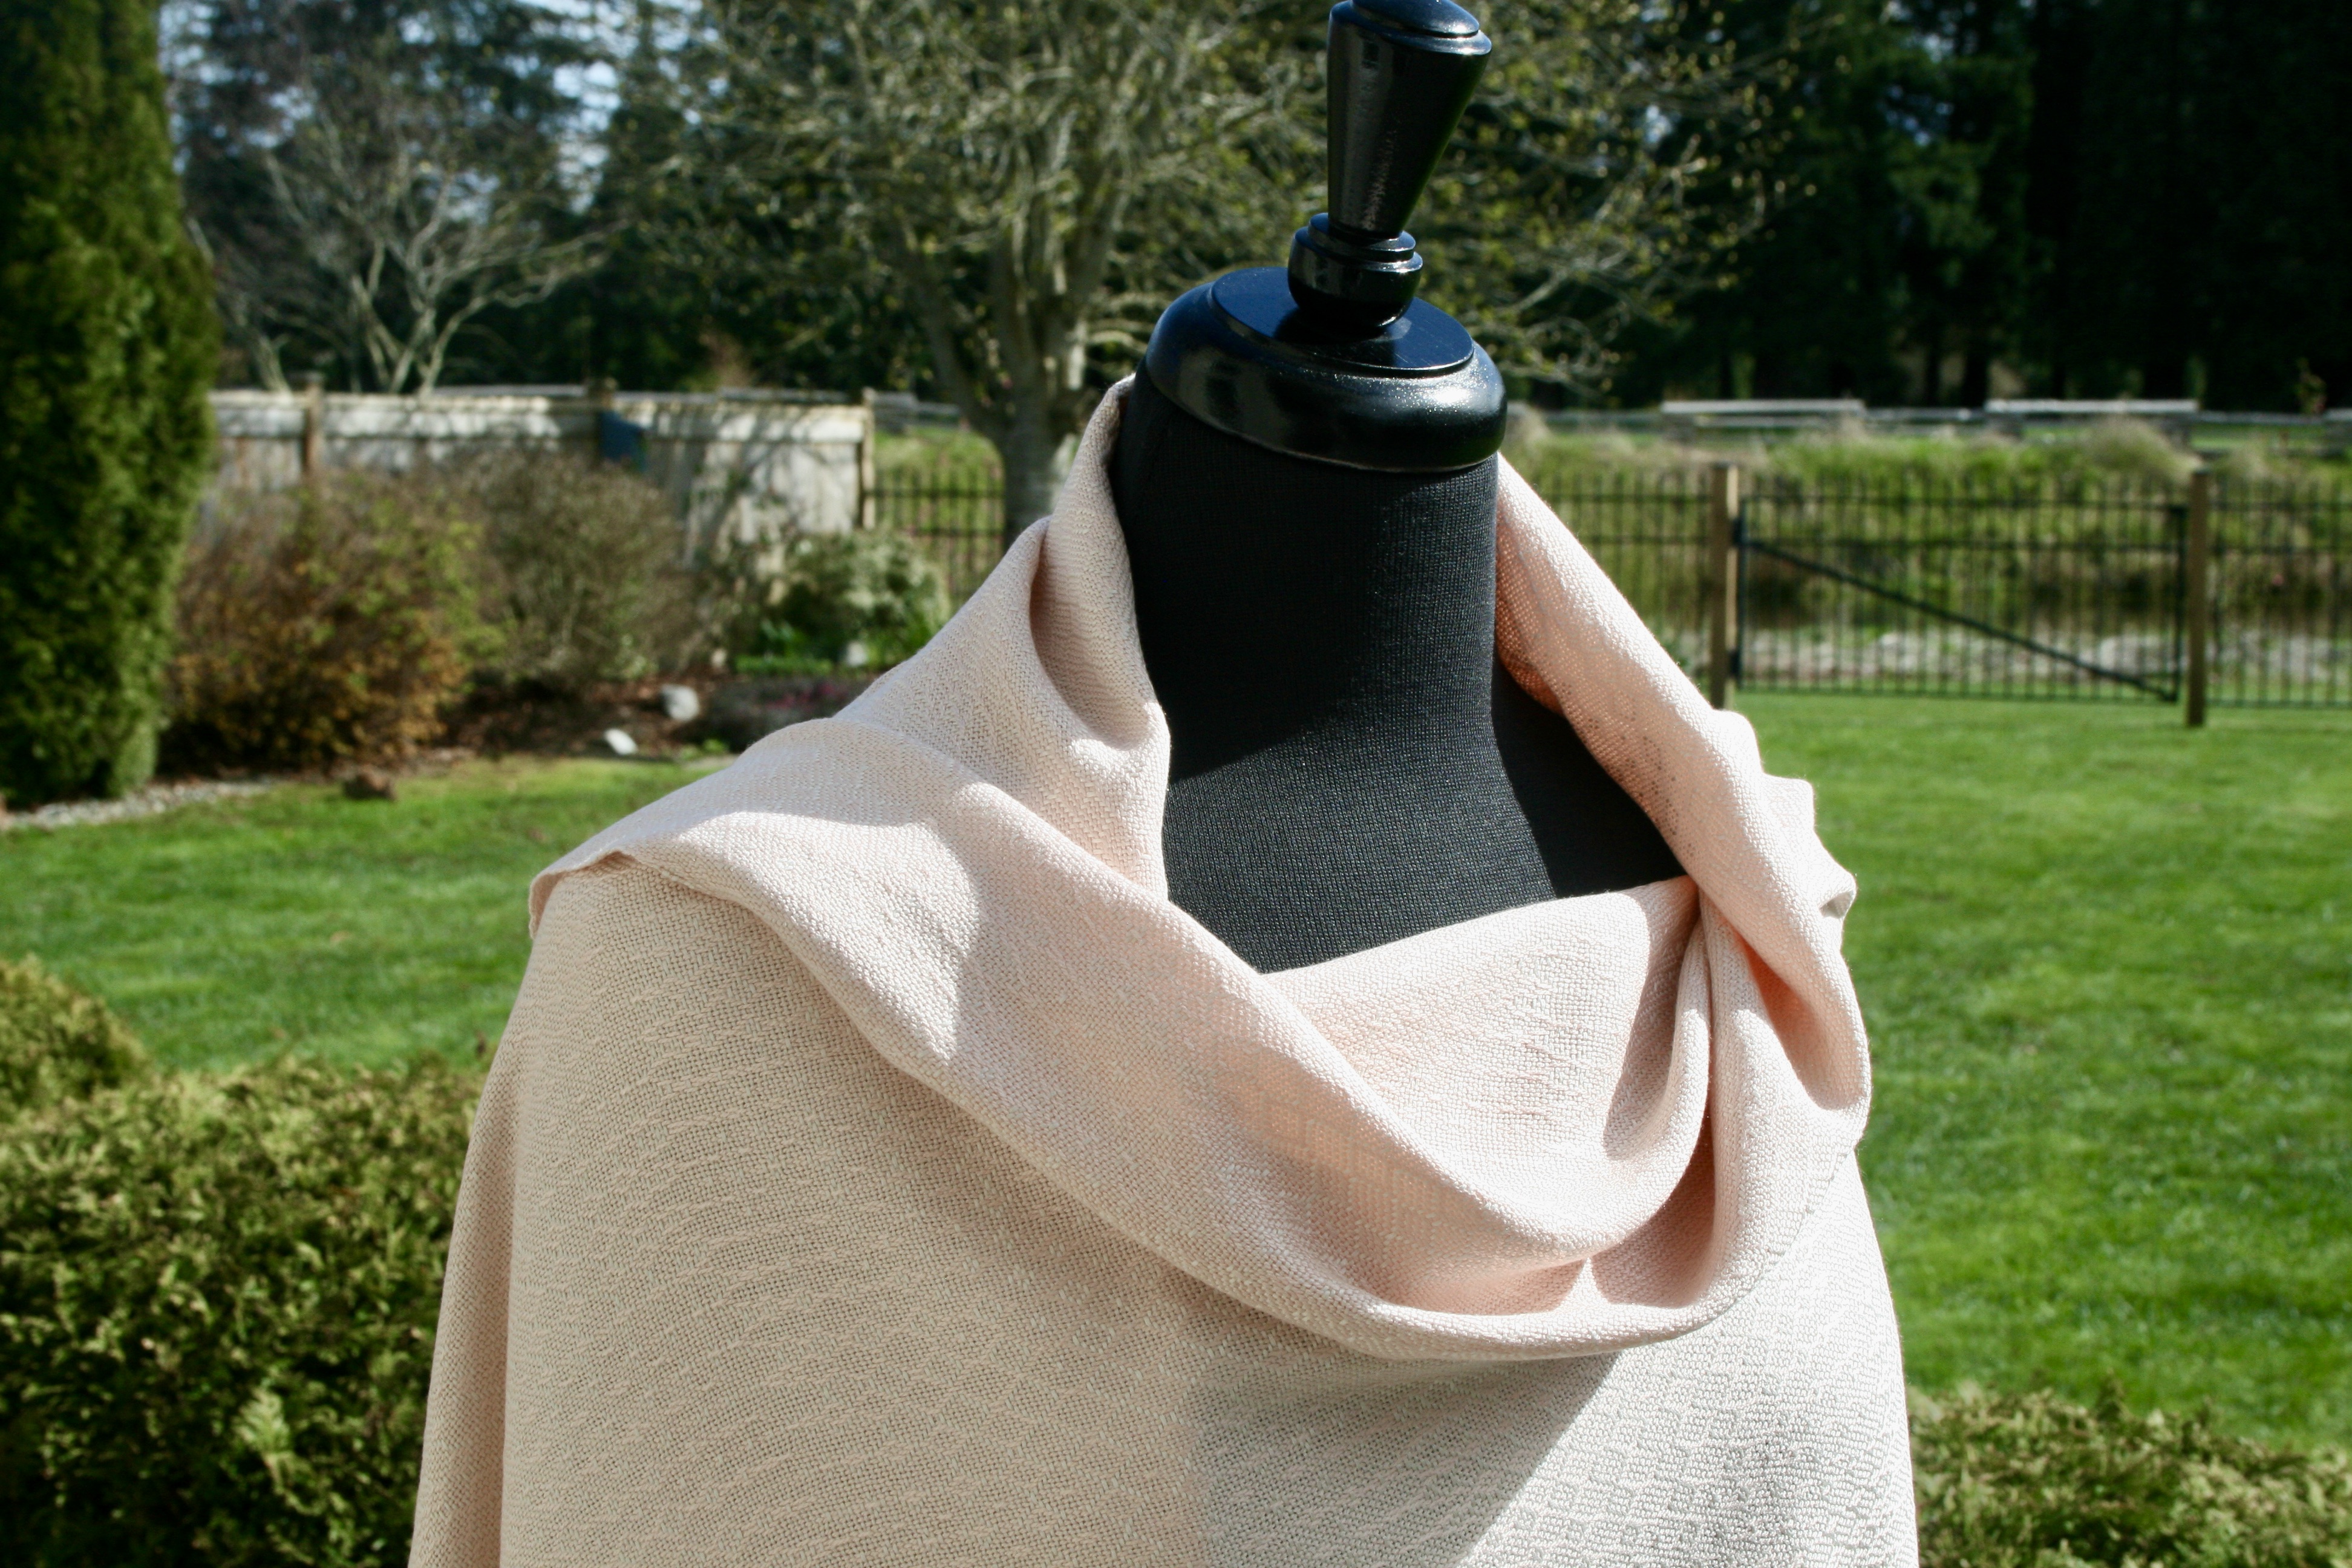
The reverse showed as a complete opposite of the front which is nice in a scarf so it can be worn either way.  I took my time with the threading and then I lifted the loom up onto crates so I could  do the tie up more comfortably.  I sit on a low stool to d this as I'm not supposed to kneel on my artificial knee.  10 shafts x 10 treadles meant it took some time to get them all  done. 


Front beam back in place and then I laced up the warp.   Then I went to the back of the loom and slipped the brackets out of the threading holder and slid them to the back of the loom and secured them there. This keeps my thread by thread cross.  Its best to leave them ready in case of any errors or mishaps. Until you are very sure *all* is well.


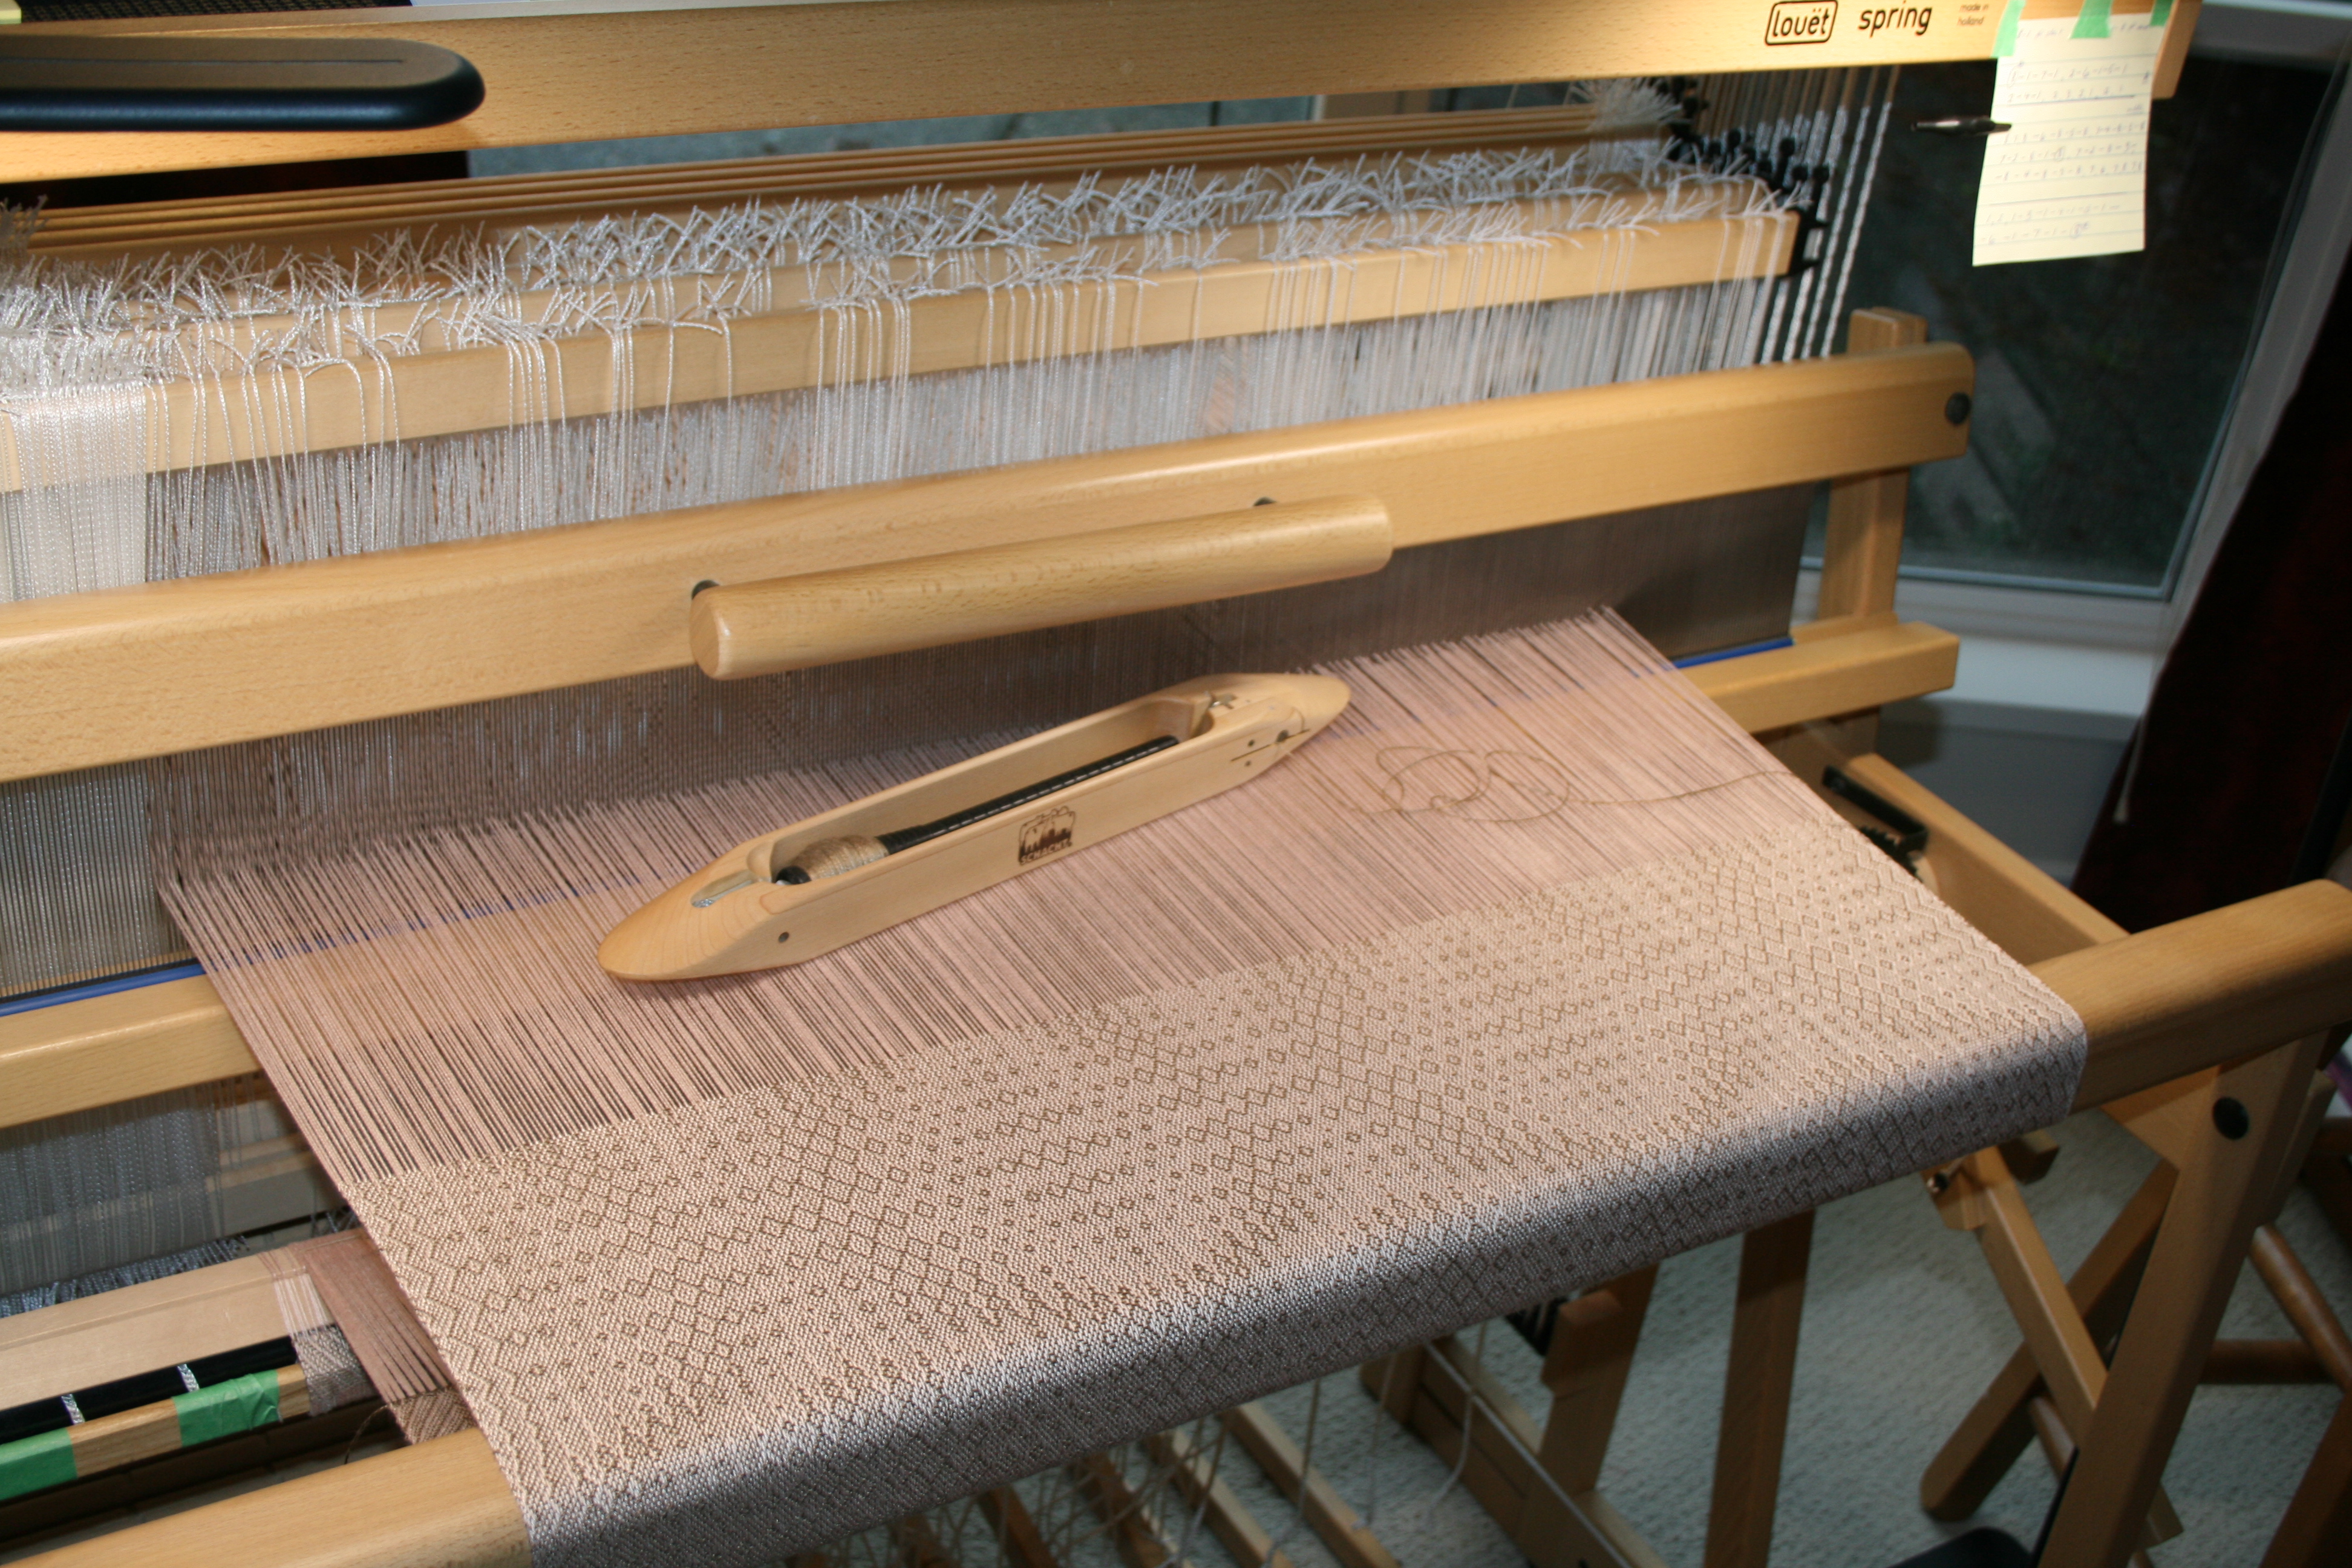
Back at the front of the loom I then did my usual 2 stick start: weave some scrap yarn 2-3 shots at a time and beat.  Here I did a run of 10 shots altogether with a beat or so every few pics. Then I insert one stick, change sheds and insert the second. Then weave another run like regular weaving.   As you can see it takes up very little warp and there's a nice firm straight edge.   


I advance the warp for my fringe allowance and weave some more shots of scrap yarn again. Then using my project weft yarn, I leave a long tail of 4-5 times the width of the project, and weave an inch or two. Here I did two runs of 1 to 10. Then I hemstitched neatly every 4 warp ends and close to the edge from right to left.


I wove up a full repeat .....and then decided that I really don't like it at all.  The pattern is all on the surface, piled up like an old chenille bedspread, plus the floats are too long for my liking as well.    Then when I saw this picture, the threading error showed up. I might have gone slow doing the threading, but clearly not careful enough! There's nothing like snapping a picture of your work to have the camera do the work your eye refuses to see!


So, I cut it all out and removed the weft. Yup, all of it.  Then I pulled the entire warp back through the reed and then the heddles. Then I shifted the lease stick back into the threading brackets again. 

I took the rest of the day off to consider my options. 

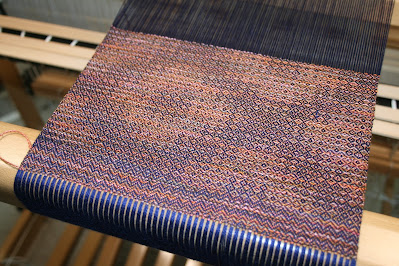
I find the tie up the most tedious to do, so I decided to leave the tie up in place and find another 10 shaft draft. Using my Fiberworks program, I took the same tie up and tried different 10 shaft threading arrangements.  Then I found this one, and with my tie up set up, it looks kinda nifty.


I found some interesting weft yarn that has many hints of colour and has 30% alpaca, 70% silk,  I bought from a shop on Etsy called Solstice Yarns when I was on the big yarn hunt.   (The great yarn hunt is for another post to come)


So.... this is where the project sits for now. I moved to the Megado to complete a project there, which also includes 3D printed warping aids but of a different kind.    So that's the next post..... or maybe the great yarn hunt.


I'll close with a spring time picture of our clematis in bloom.  Since this was taken, all the buds have opened up and its glorious!   Also the chestnut tree is in full bloom and the branches are straining with all the weight..... and the bees and hummingbirds are enjoying the heck out of it all!   🐝


🐝  🌺  🐝

Saturday, May 13, 2023

Helping Hands: Spring Version ✋👍🤞

So right up front I will tell you this is likely to be 2 or possibly a 3 part post as we look at "Helping Hands" by Lofty Fibers.

Some time ago I saw a brief video clip on how to set up and use these 3D printed parts and brackets and it looked like the bee's knees!     I dithered about buying them as there's the whole US $ to Canadian dollar conversion, plus shipping, and then likely customs etc etc.   Finally I just ordered and waited for delivery.      

I bought a set for both my Spring loom and my Megado loom.  They have sets for just about every major loom manufacturer available at their web site.  This is the way it comes in its own little bag plus written instructions and also a link to the video to watch at You Tube.   (The one below is for the Megado, so the parts are somewhat larger.)

So the Spring loom was empty first and so I used it this time round for beaming.   I'm sure that I will feel more confident with repeating the process, but it seemed to work nicely after I figured out the lease stick and pegs. 


Here you can see I have attached the upper brackets to the castle (they have slightly different models for Spring 1 or Spring 2)   This is a Spring 1 loom.  The lease sticks slide into brackets and the brackets snap into place in the holder.  

The picture below shows the bracket in position  BUT I have the clips in the wrong place. The lease sticks should be further to the right and the pegs in the holes should be in the centre  of the bracket.    First time using them!


I was able to slide my raddle covers over and then set my threads into the raddle : 5, 5, 5, 5, 4   to give me 24 epi.


This is the lower bracket in place further down. This where the lease sticks and their holder end up being placed after beaming. It holds the lease sticks at a comfortable height for threading, determined by lengthening or shortening that bit of texsolv cord to a cup hook.


All done and the tape measure shows my centered 10.2 inches in the raddle. I have also placed a fine seine cotton cord around the threads in the raddle to keep them in place during beaming.


Then you take a smooth wooden apron stick or 1/4 inch round bar stock rod and  slip it through the threads on the lower lease stick and draw it down towards the apron beam. They provide two texsolv 'loops and pegs' to hold the two rods equally apart and stable. You can adjust this to be smaller if you like. I'm going to play with it a few warps and then mark my preferred texsolv slot.


Then you lace the two as shown above. Now you are ready to beam on.   Go to the front and find the first choke tie and gently tug the warp straight.  It should all be nicely even.


Here the warp is being beamed on and it went very smoothly!  Seven yards and no issues at all.


You stop when the ends are just below the upper castle.  Un-tie the last cords and trim across the ends. Below is the view at the back.... all neat and orderly!


Next step is to take off the cord around the warp in the raddle and lift them out of the slots and drop straight down.   Then go to the bracket holding the lease sticks in place and unsnap them on both sides and lift them up and then down to the lower bracket for threading.   Adjusting the texsolv cord until you get the right height for your comfort.    A quick swipe with a felt marker marks the right slot on the cord for next time.


Below, you can see that I've corrected the lease sticks and have them situated better and the pegs are essential to keep them secure!!


Here's a good view of the cord placement between upper and lower brackets.


This is the view from the front and we are ready for threading!

Next post will be about getting started.... stopped and making changes on the fly!


Tuesday, May 2, 2023

Garden Path Shawls 🌹🌼

 Its a glorious day spring day here and I have the French doors in the studio open and a light warm breeze is coming in. You can smell the garden and we have some traditional spring blooms.

Some weeks ago, while it was still cold and dreary out,  I had spring in mind when I started my shawl project.  Sadly my back spasmed and so things sort of sat and waited.    The only tool that saw any action was my e-spinner and while it was fun, it wasn't weaving. 

So the goal for this shawl project was a delicate pink rose fiber yarn, paired with soft taupe or even a white or cream. Lovely for a spring day or summer gathering.   Where the pattern would be revealed by a play of light or in soft tones so it wouldn't be overpowering to the wearer.


So here's the first shawl underway on the Spring loom.  The draft is below and is from handweaving.net #74555   8 shaft advancing twill.   Looks complicated but the treadling was conveniently in 3 easy blocks.
In the picture above you can see my very high tech method of keeping track of where I am in the treadling.   I write out  logical  treadling runs, using my own shorthand, and the little alligator clip 'borrowed' from my hubby is slipped down line by line.     Oh, I've looked at Treadle Tempo but this system works, and costs me next to nothing, and I save those notes in my records to use again on another project.


The rose fiber came in large 2 pound cones, already dyed the pink. Other rose fiber I have seen is the usual white or off white.  Unfortunately the company that sold this yarn has sold off all their stock and I can't get any more, which is a great shame. Its lovely to work with and not a minutes problem and no fraying. Its a nice even 2 ply and I even love the tender pink shade. All that is missing is the rose scent!  🌹


Here's the shawl all set outside.  It was difficult to photograph either in the sunshine or over in the shade so I hope you can see the lovely drape and depth of the shawl, while replying 'on the loom pictures' above for the actual colours and pattern.


and in the shade...


The second shawl has an unusual weft yarn. Its an off white dandelion yarn.  Yes, you read that right.  I found it on Etsy at a shop called YarnItaly and bought a small cone of it to try.  Its very soft and very neutral in colour.   I just love all the new and interesting fiber yarns they are creating out of what is pretty much waste such as rose prunings and dandelions.  Things like pineapple, guava, nettles, milk, milk thistle and so many more.   I have some peppermint, green tea and modal.... even hemp.


This shawl is lovely and has the pattern revealed by a play of light, but it would have been even better if the weft yarn was a tad bit whiter, or have a bit more shine. Next time I guess!  

I like to record what I liked, what went wrong and what to try next time in my project notes.   I return to some of the drafts again after a few years and I certainly can't trust my memory!


These pictures really don't do it much justice.... its so much nicer in person. Soft and drapey.


I found that a friend of mine on line had recently purchased 500 pounds of yarn from the same company I bought the rose yarn from. Sadly, there's no pink rose yarn to be had but I have some interesting skeins of rose fiber and yak coming.   The skeins looked just like regular silk and I already have some ideas starting to bloom for a project with that!


🐝   🌷🌷🌷   🐝